Friday, 25 October 2024

Sewing Tools Stand

Having tools scattered around my sewing machine sucks. Let's go.
I drew the layout on paper and cut out two rectangles from cardboard.

When cutting it, I found out that one side always gets shrugged. So when you cut cardboard, do it so that the piece you want to get is at the right from your scissors.

I made it from scraps of the most beautiful fabrics I own. Unfortunately, the green one was too narrow, so I finished the edge with a strap of fabric to stay as big as possible.

I sewed it on the blue piece and made compartments.

The lining was a bit of patchwork as well, as I didn't have big enough scraps.

I sewed the lining together with the upper piece. When inserting the cardboard rectangles, I left a small space for upper fold and big for the bottom. I sewed through the layers around the rectangles to keep them in place.

I made a tunnel and put in a cord to make sort of stopper for the stand.

Finished.

Monday, 23 September 2024

Butterfly Net

A colleague of mine is a passinate butterfly observer. So he brought me some tulle and gave me instructions to make him a net for observation. He also gave me a circle made of strong flat wire.

I sewed the long sides together with a flat seam, then the upper part and finally made a tunnel - just in an easy way, folding the fabric and sewing 0.7 from the edge.

If I understood it correctly, he should hang this thing, turn on some light inside it and watch the butterflies sit on the net. Charming!

Wednesday, 18 September 2024

Red Woolen Belt Poaches

After selling the Blue Woolen Belt Poach, I found another picture for embroidery, so I got down to making two more woolen belt poaches.

I drew the image with a piece of chalk and embroidered in a frame.
This is how I make the cords - I tie two cords together, make a knot at each end and twist them with the help of a drill.
Lion and gryffin are waiting for their new owners.

Wednesday, 4 September 2024

Violet Pompadour Bag For Coins

 Too many cash left from different coutries. This was my inspiration for this type of bag that I've had in my pins for a long time.

Two big and two small circles. One of the big circles has a hole on the outside, right above the small circle's edge. Sewing around the edge, turning to the right side and adding one more line of stitches to flatten the hem.
Making the bottom and eight compartments, one for each country's cash.
Adding a tunnel for the fastening cord.
The cord must have stoppers at the end and mustn't be too long so that the pouch doesn't open too much for the content to drop out.
Lovely type of bag!

Friday, 23 August 2024

Chisel and Carving Knife Guards

My chisel and carving knife desperately need some case so that they can come to the forest with me in my bagpack. I used this tool to make all the holes for the big chisel. When you want a neat result, it's essential.
An odd hole was left at the middle, which was actually the best that could have happened.
Home-made stitching pony :-D
A long book between my knees.
I don't have the edge paint yet. So nail lacquer was used.
Ready to set off!

Sunday, 28 July 2024

Blue Jay Dress

Dress from my T-shirt pattern. Beautiful fabric print!
I cut the T-shirt to end at my true waistline. Sleeves are very short.
I ironed fusible web on the fabric and drew the neck lining piece.
I cut it out, sewed together and serged.
Sewing on with a straight stitch, I cut the seam allowances in the curves.
The skirt is something like half circle.
Sewing the pockets on each skirt side edge with a straight stitch too.
The sides of the skirt are sewn on the serger.
My favourite shape of dress - emphesizing the beauty of female figure.

Wednesday, 26 June 2024

Fishing Rod Bags

I'm a minimalist and a fan of having my stuff light, compact and as small as possible. I carry my fishing rods in a backpack and needed something to protect them.

The lower part is as small as possible and the rest has to be as big enough for the winch. My favourite velcro fastening with two perpendicular velcro straps, sewn on so that the upper part of the bag is slanted (-> as small as possible) when closed.
The material used is a lightweight cordura and the seams are finished with a bias tape.

Wednesday, 1 May 2024

Speaker Covers

I little complicated cover for our country band's speakers. There must be a hole for handling the speaker.
 The design took me a lot of time! I added a centimeter to each dimension for the cover to be taken on and off easily.
I won a yoga mat last year at a running competition. Now I cut it to pieces to protect the speaker face. I cut the panel and made an inner pocket from lining fabric. The main fabric is the one used for strollers, with a rubber film on the wrong side.
The mat is 7 mm thick, so I made the pocket this bigger, on the lower edge, I made a small fold at the corner as well.
The finised pocket. The lower edge is attached with the hemming, the upper edge is half a cm away from the seam.
At the handle, where one seam would contain inner seam and hem, I folded the seam allowance inside and sewed over it.
At the corners, I cut the seam allowance to half its width. This was I was able to turn quite easily at he corners and it's still quite safe. I zigzagged each inner seam and double folded each hem.
Two pieces finished.

Monday, 11 March 2024

Microphone Case

 Microphones are always the most delicate property of a musician - it has to be handled and transported very carefully. My husband got some Whiskey in a nice sturdy stylish case, so we made use of it. We bought foam and cut out the shape of the case. The upper piece was also angled at the edges so that closing the case is comfortable. Not very neatly done, but... Whatever :-)
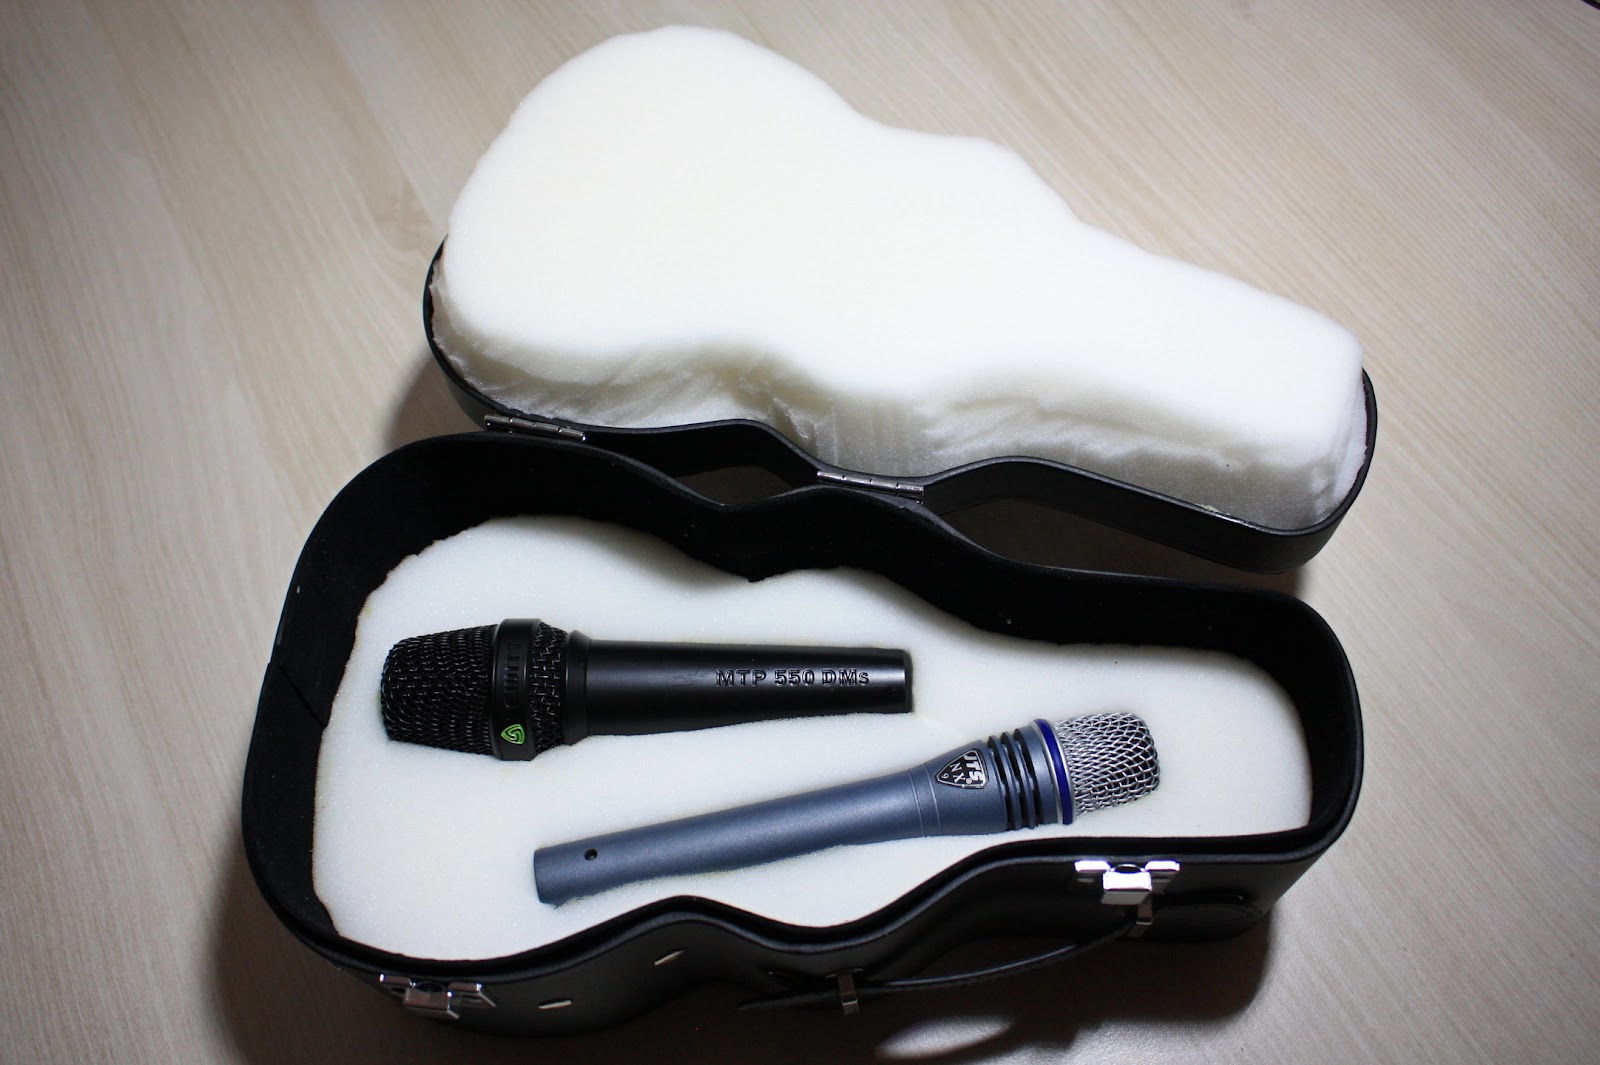
He glued the foam to the case and I traced the mics with a marker and cut out the foam with my scalpel. Works perfectly, protects reliably!

Sunday, 18 February 2024

Lego Bodysuit

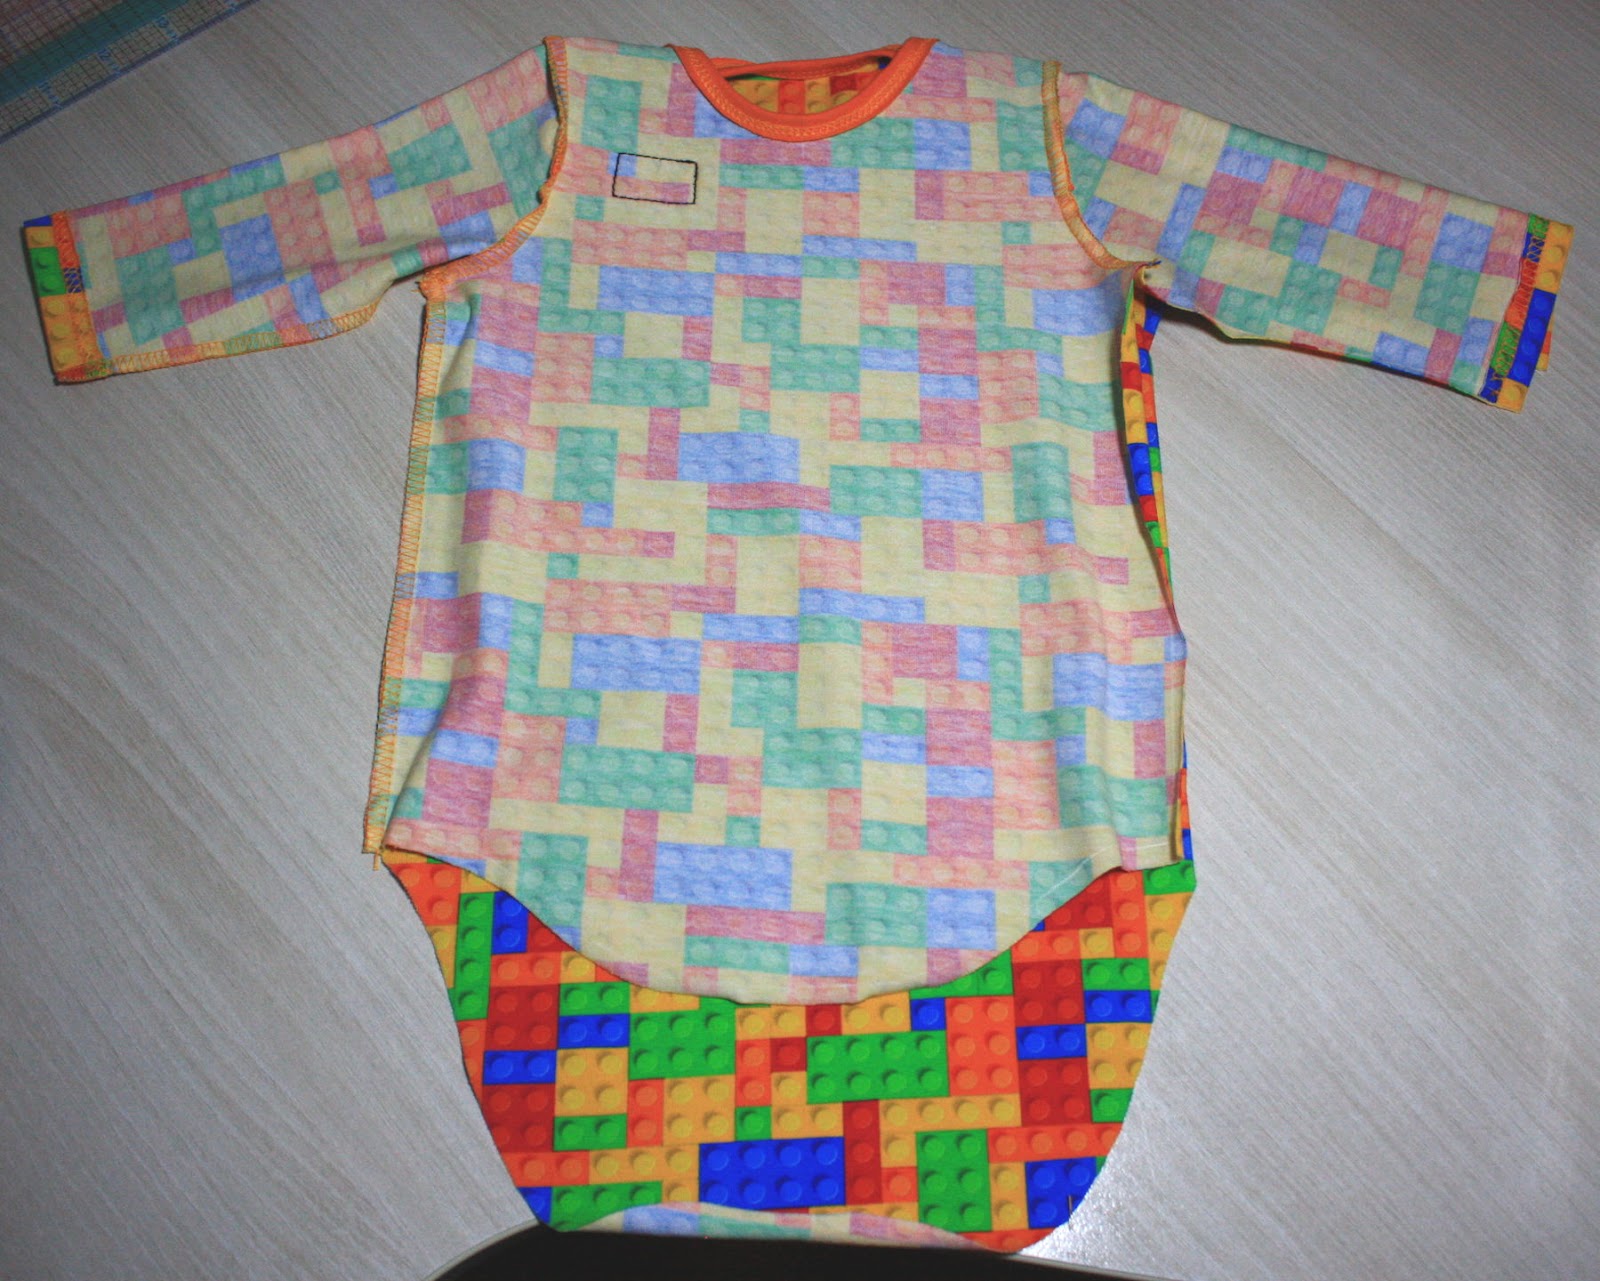
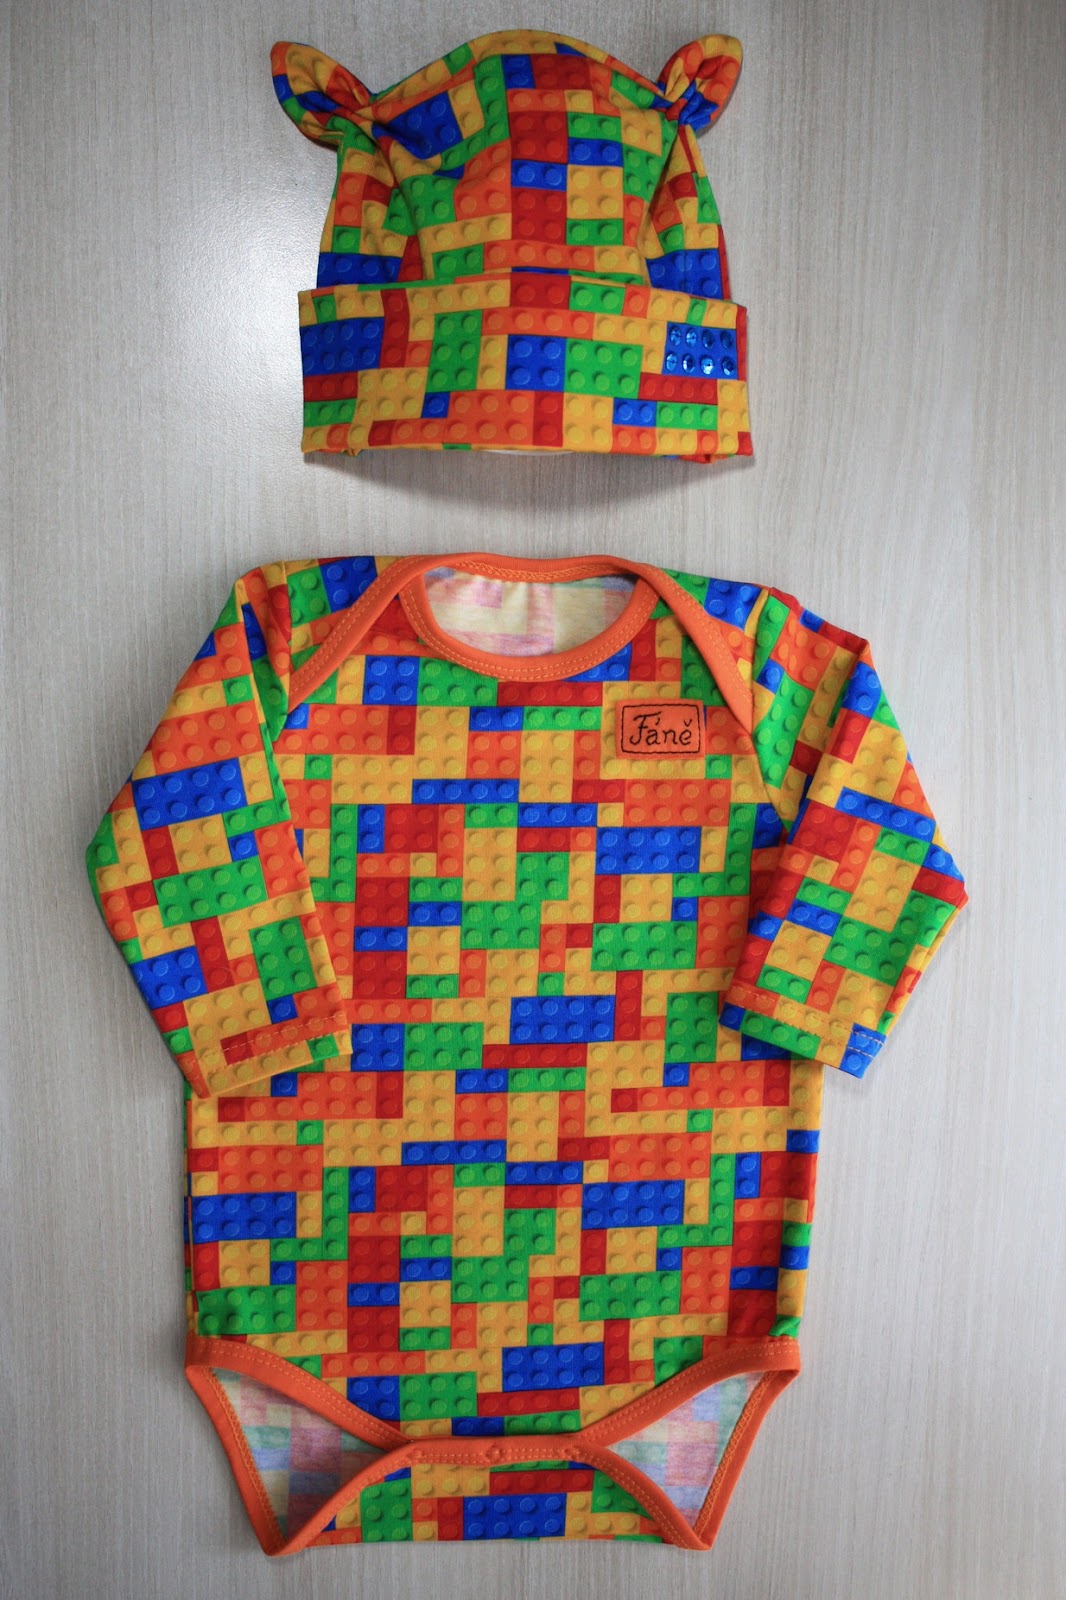
 One more baby in our family - one more bodysuit. The pattern and process was the same as at Fox Bodysuit.

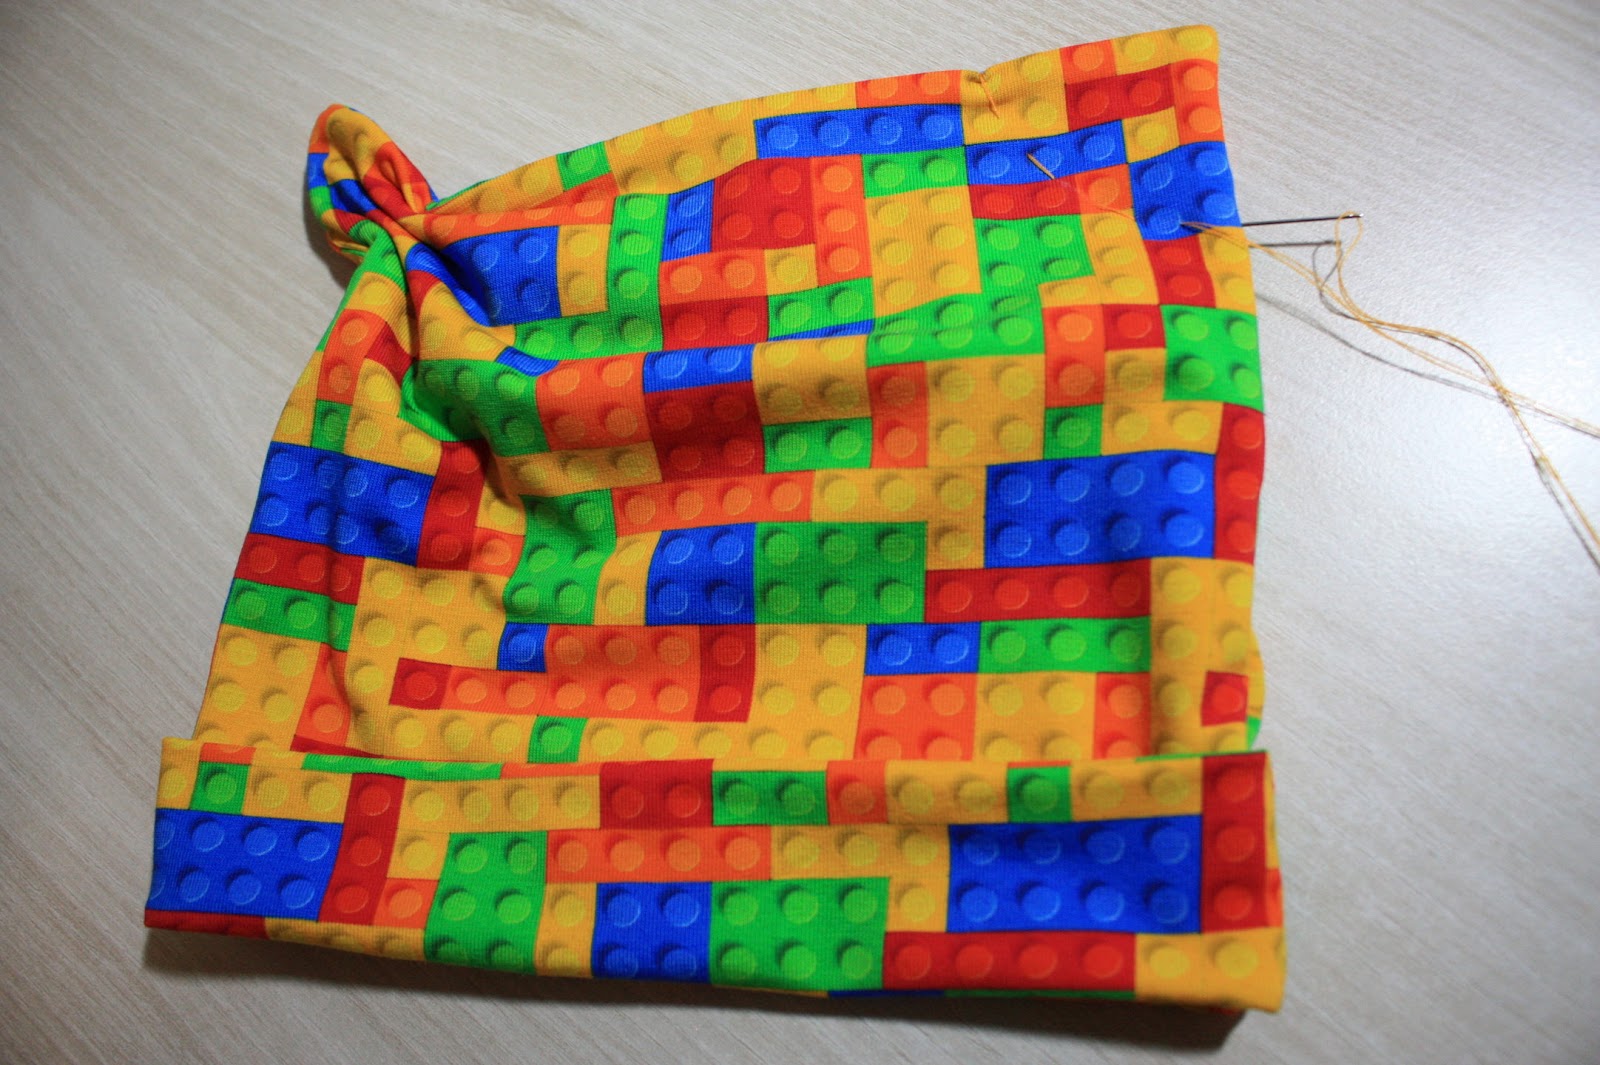
I had some more fabric left so I also made a little hat with ears. The pattern was easy - a rectangle. By the way, this fabric was not chosen randomly, both her parents have home made T-shirts from this fabric, so it should be even bigger surprise.

Half of the rectangle is turned over to the right side, so one half stays as inner layer. Then I sewed with front stitch the ears.

I tried it on my panda and it looked just fine.

As it will be for a girl, I added a few spangles to the hat. And the name label. It's her name in the form that her parents like to use.

Good luck in life, little one!