Tuesday 28 February 2023

Minimalistic Leather Wallet

 Minimalistic leather wallet. Well, in my hands, it won't be so minimalistic. But at least thinn.
I took a rectangle of leather, one half slightly bigger than a credit card. 
I dumped it in water and bent in the middle and let dry.
I made the edgees smooth and the edge grooves (pressed in with a needle on wet leather). I cut the corners with a scalpel.
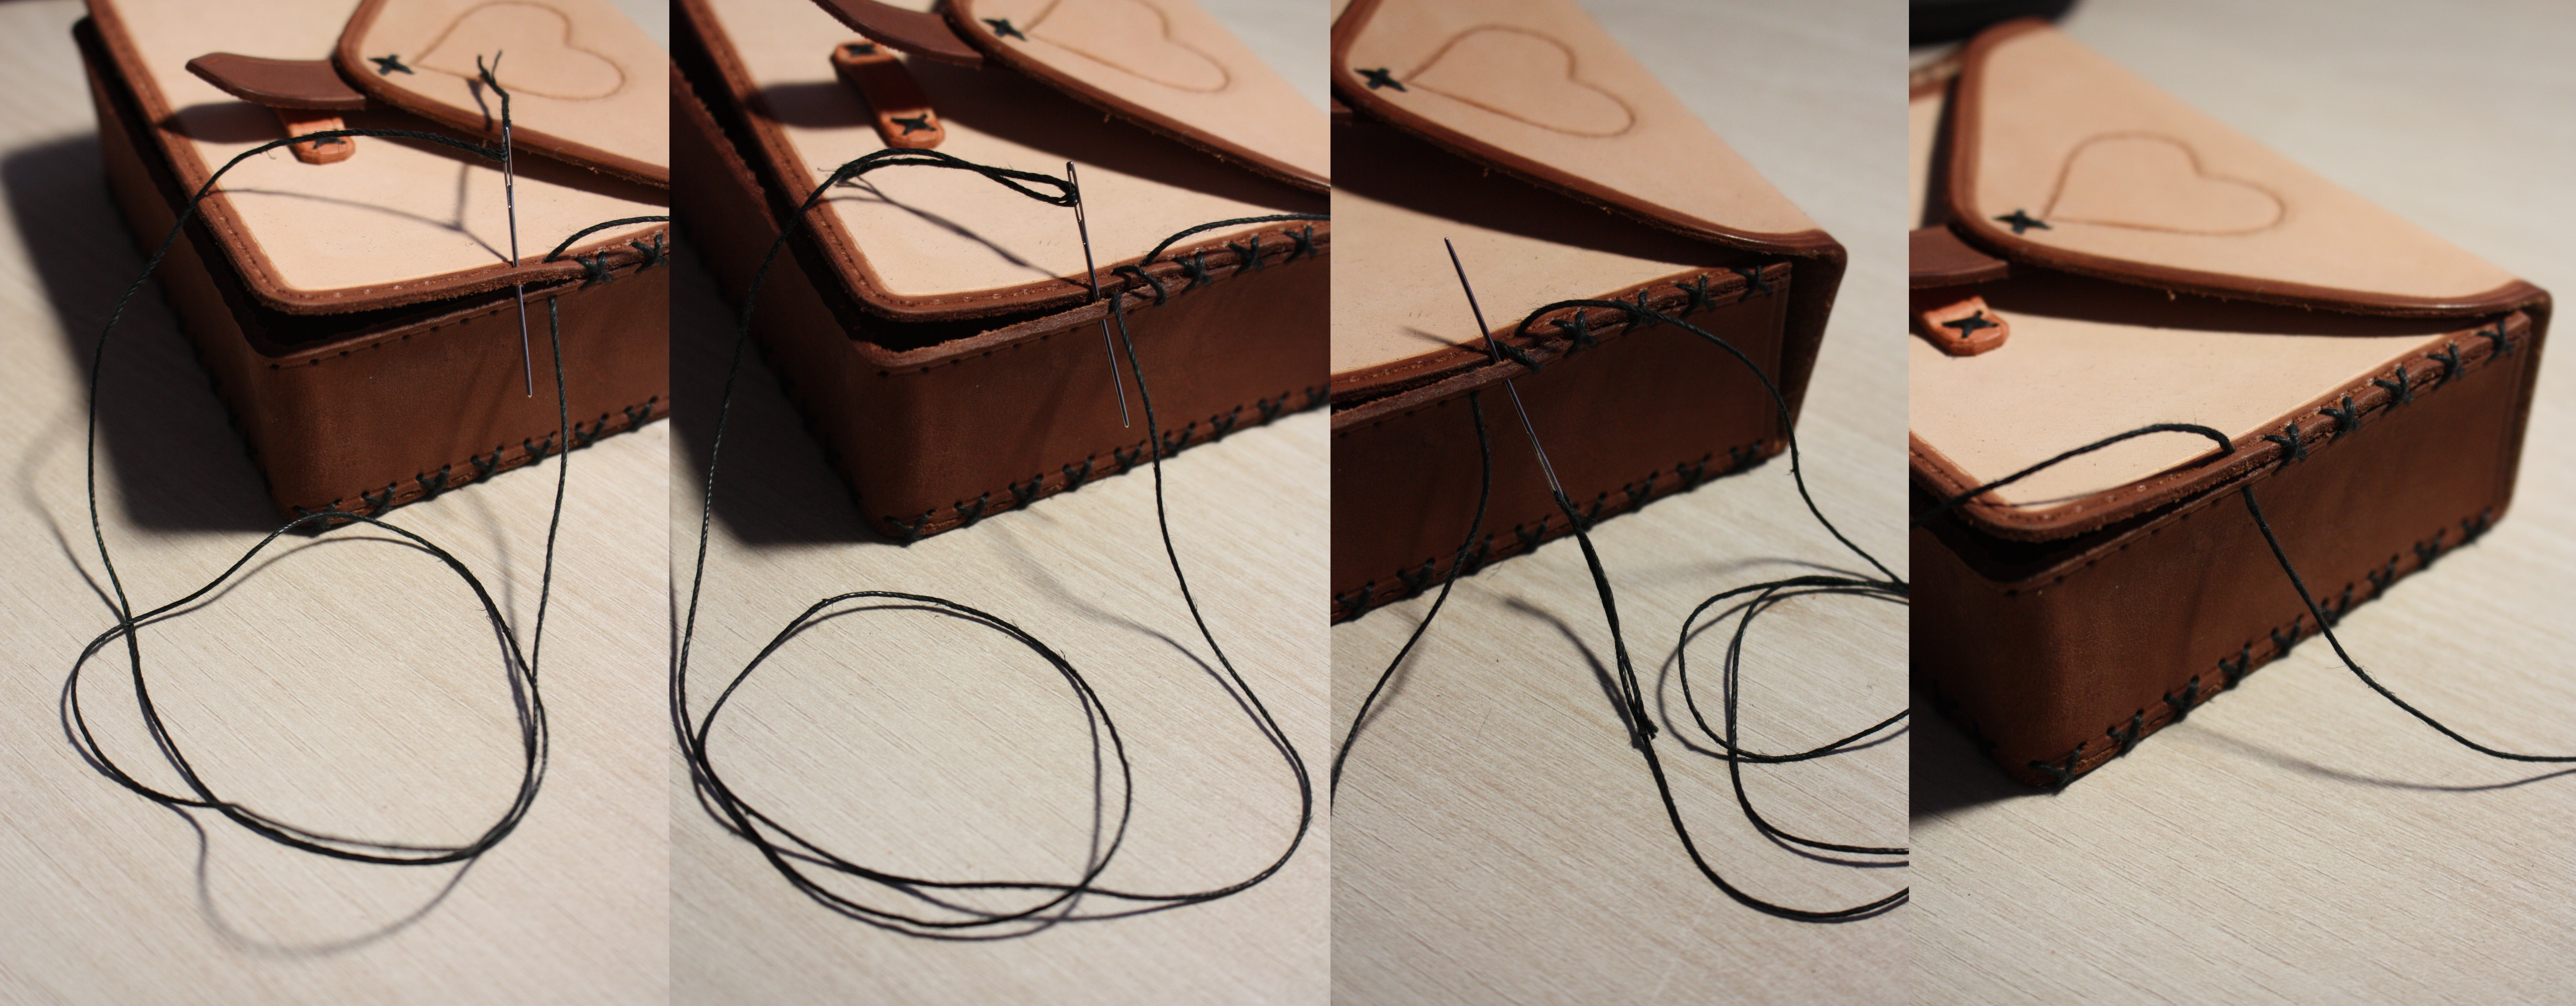
I made holes with fork and hammer. Then I carved the design with a swivel knife.
I tried to learn how to use stamps here.
I dyed the edges and background with wood dyes.
Here is a detail from shaping the insides. I used a ballpoint pen to get the curve. I had to make it bigger so that the wallet wouldn't open when full of cards.
I had to use fabric to hold my banknotes and any returned coins. Well, not so minimalistic, but practical at least.
I applied balm and antique so that the design outlines stand out. Balm however did not prevent the undyed leater to get greyish from the antique. When I have Resolene, I will make more experiments with it.
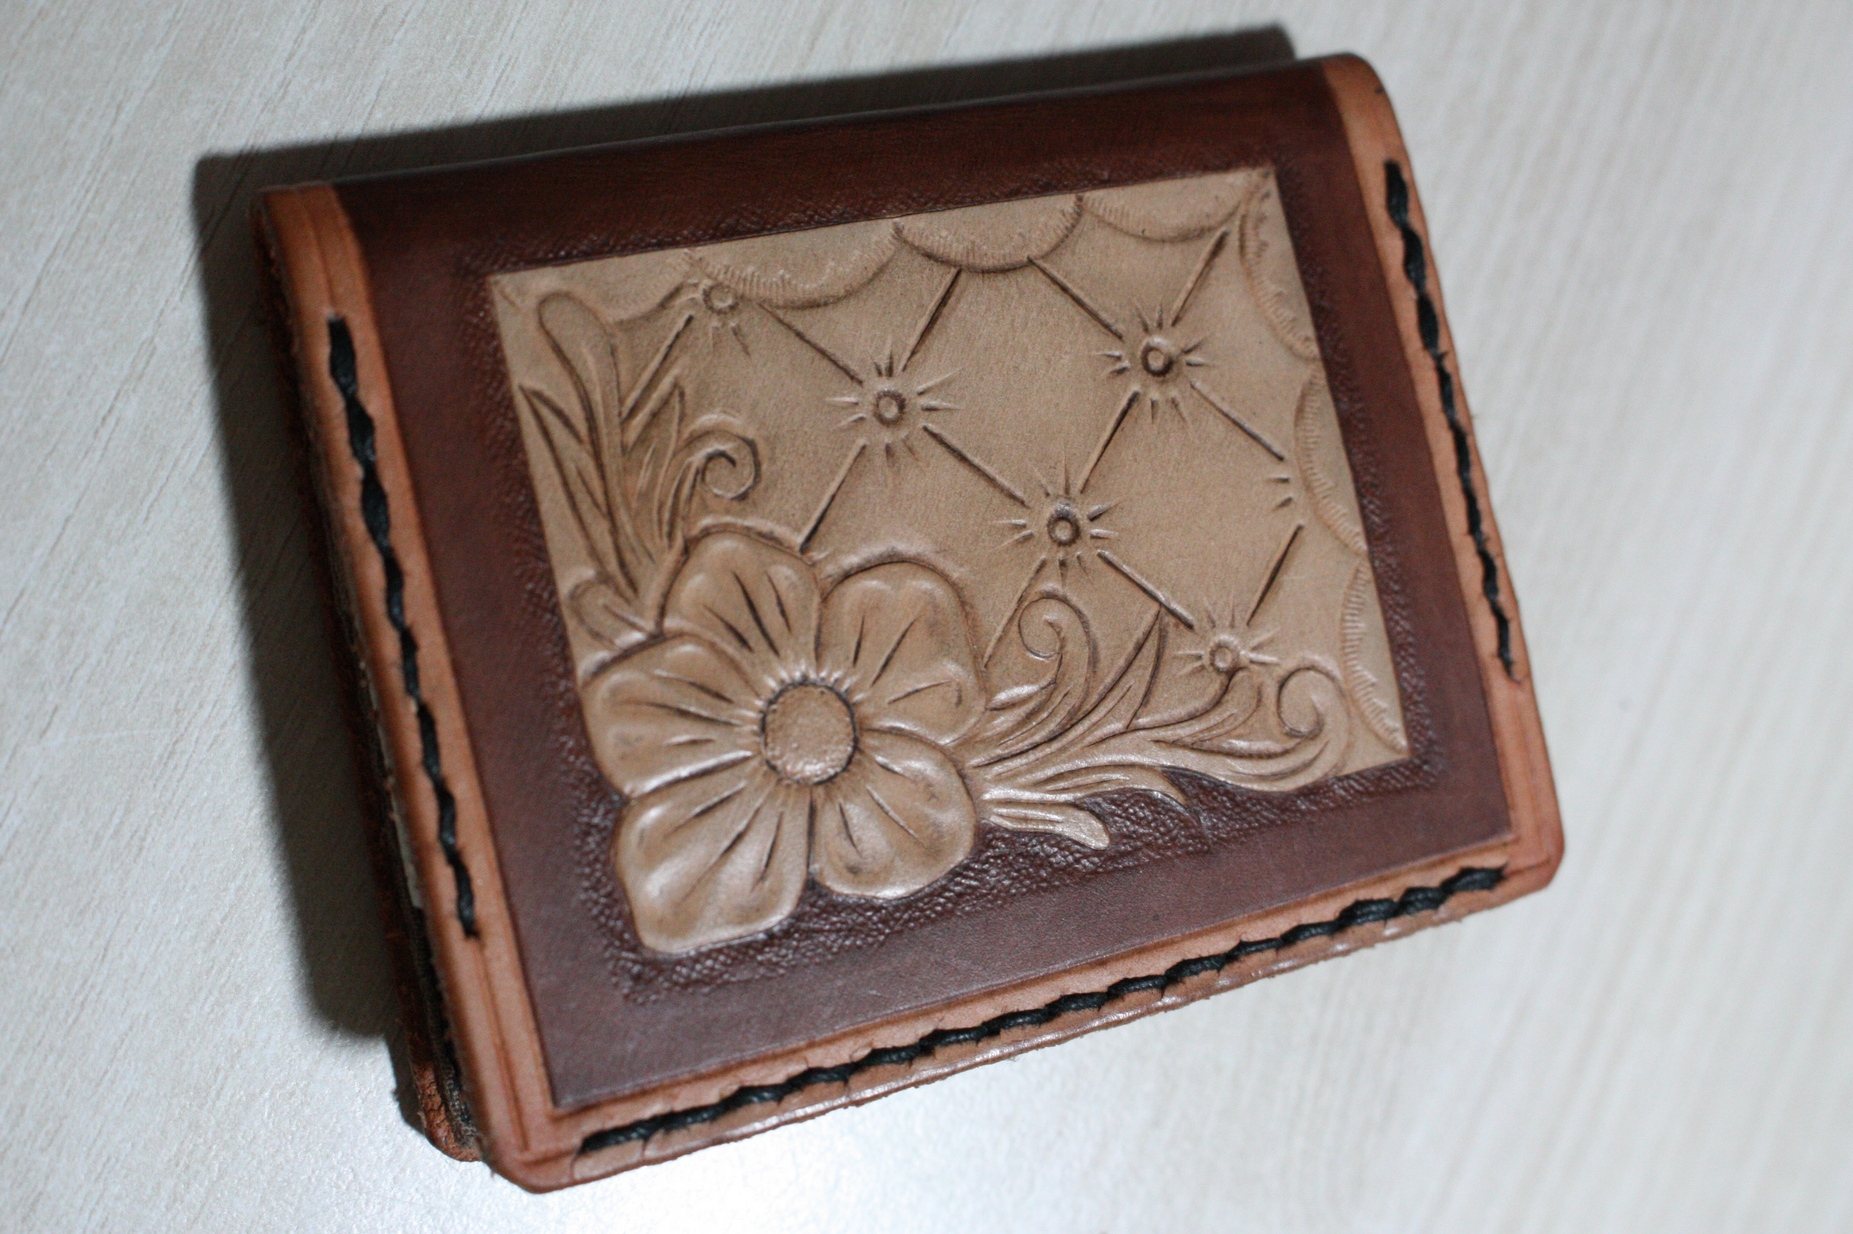
Finished wallet.
I planned to have it just for fun, maybe to go to the pub, but it sneaked out to be my main and only wallet somehow :-D

Tuesday 14 February 2023

Tarot Cards Case

New passion requires new case!
I reused the fastening type that I made at my playing cards case.
In fact I even reused its side panel (in this photo, a corner shaped and here straightened again shows with some crincles). The holes were done in 45 degrees with an awl.
I cut out the bumps that the awl created so that the pieces can fit snuggly to each other.
The sharp edge was cut to angle.
I dumped it in water and smoothened it with short fast moves.
This is how it looks then.
I cut a hole to get the cards out comfortably.
I transferred a few holes from the side panel to the front one..
And then to the back piece.
Fastening was dumped in water and formed to shape to fit the strap.
I marked grooves where the leather would bend.
Soaked in water and let dry in the final shape.
After drying it fits quite well (it took me two tries).
Decoration is done to wet leather with a blunt needle.
I made a basic dyeing. Then I dumped piece of sheet in dark brown, let it dry a bit and lightly with circular moves antiqued the edges.
After that, the edges were painted with dark brown. I glued the fastening on. Needles helped me to get the right position.
I sewed with the same stitch that I used for the playing cards. Sun was painted with acrylics.
My tarot deck is contented.

Thursday 9 February 2023

Playing Cards Case

My previous company had borrowed some leather from me and now returned it. So I can play again.
Case for two decks of cards. I cut out the front and back pieces. The corners are done on both pieces at a time so that they fit together.
Round corners with a narrow scalpel :-) I love this method. It can be then smoothened with emery.
Groove cut with this special groovy tool.
I made holes with stitching chisels on one piece. Then I marked a few holes to the other piece with an awl and made holes there too.
I smoothened the edges with emery.
The rest of the groove was just pressed with a blunt side of the needle to wet leather.
I used wood dye for some parts, prepared pieces for fastening and sewed them on.
I made up my own cross stitch. By the way, on the side panel, the holes are cut at 45 degrees (marked with stitch chisel and then pricked at this angle with awl). I make every stitch loose so that I can get there and then tighten it.
Coloring the design with wood dye. I used a lot of layers for the black. Finally I decided to go for acrylic paint at the red ones.
Finished piece. Fastening works surprisingly well, it closes tight with a nice "snap".
Applying balm, which also leaves a darker hue to the colors.