Saturday, 24 June 2023

My Wedding Dress

I'm getting married. Not so much time and I still didn't know what to wear. Finally, my friend helped - she gave me a wedding gift - her wedding dress.

For me it was just too decent - the lace sleeves are just not like me. So a lot of things got solved. First, I wanted to sew my wedding dress and at the same time didn't want to because all the stress from that - I might finally find myself hating them if the process was too hard... Now I could just tweak a finished dress with my design which was a perfect choice.
The dress was dirty at the bottom and had a hole from fire in it. I made a tuck at the hole. Lucky enough, the skirt was so long, that I could shorten it and get rid of most of the dirt. It was pain in the ass. The chiffon is hard to hem and I was just folding the (curved) edge twice and sewed through it. It was moving like water and ended up very unprofessionally hemmed.
I made a pattern for sleeve - arc 80 x 60 cm. The armhole was measured from the dress. I used cans to keep the fabric in place - chiffon is like water, always moving and changing shape when you don't watch it.
Finally I googled up a video how to hem chiffon. You fold the edge once, sew through it, the you turn it upside down, fold once more and sew at the right side.
Results are excellent compared to my previous work. Before and after ironing.
The lower hem was not nice, but it wasn't noticeable close to the ground and in loads of layers of fabric. Sleeves - that is different. They're close to sight and have to be perfect.
Light fabric - no machine lock, just tie the knot in hand and pull through.
I cut out the armholes after hemming so that it doesn't rip off in the meantime.
I cut off the original sleeves, pinned the new ones and sewed them in.
One sleeve trial. I sneezed at the photo :-D
It all went well, so I added the second sleeve and cut the seam allowances.
I folded the lining net over the seam and sewed on in hand.
As an accent, I glued some AB crystal rhinestones to the neckline.
The dress was meant for outdoor ceremony and it moved beautifully in the wind.
My handsome beloved husband.

Finally this dress meant something more. There is a lot from me.

Friendship - it is a gift from friend
Sewing - I designed and made part of it
History - the sleeves resemble medieval long sleeves
Dancing - we used AB crystals for our belly dance costumes
Fireshow - the hole from fire :-D

Thursday, 1 June 2023

Wedding Dress Petticoat

 It seemed like a good idea to make a petticoat so that my wedding dress gets some volume.

I bought 4 meters of tulle and tried to get as much of it as possible. Every layer should be like twice as wide as the previous one.

I sewed the pieces together to get four panels. I gathered each of them, pinned them and sewed together. Pinning the last layer was really annoying. I had to readjust several times to get even result.


When I had this piece, I sewed the center back seam.


I folded the upper piece twice to get a tunnel for rubber band.


Here it is.
And how did this story end? I spend a lot of time at the petticoat. Then I tried it with the dress, then tried again and again.. And had to admit it doesn't work. Light chiffon and satin fabrics showed bulks and the overall shape was not flattering. This is probably a choice for dress from tough material that holds its shape and just needs some support.


So bye bye my dear. Unused.

Saturday, 27 May 2023

Wedding Invitations and Wine Labels

 I was trying to make a desing for our wedding invitations. I liked simple flower designs most from what I found as inspiration, so I tried to do something in that style.

I drew a heart of leafs with black ink and scanned the image to get a basic design. It was really really big, like half the A4 and was shrinked in PC to a small image.
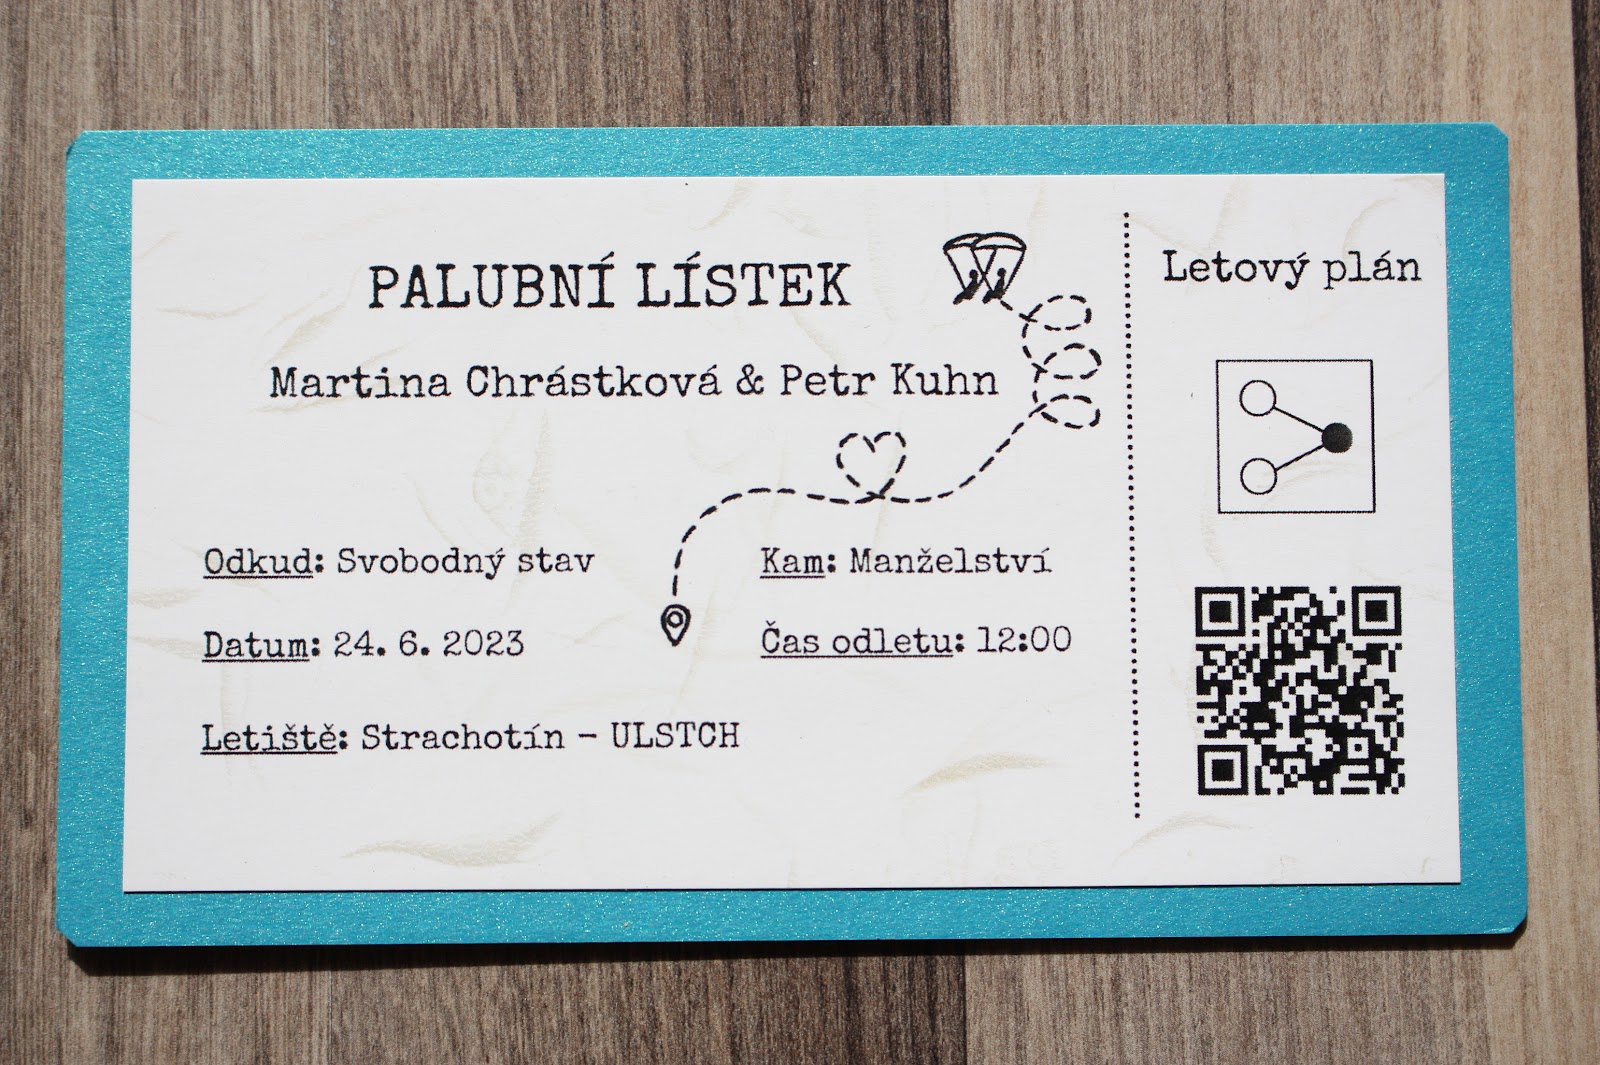
I used several fonts, all calligraphic, to get closer to hand written invitations. The back of the invitation is a flight ticket as both of us are pilots.
There are three types of paper glued together and we used a transparent paper to wrap it. It gives the whole thing some lightness. Every invitation is finished with a flower and hot melt glue seal.
I also printed wine labels to match the invitation design. Every guest family would get an excellent Moravia wine.

Saturday, 29 April 2023

Ukulele Strap

After making the banjo strap there's time to make something for myself... better to say for my uke.
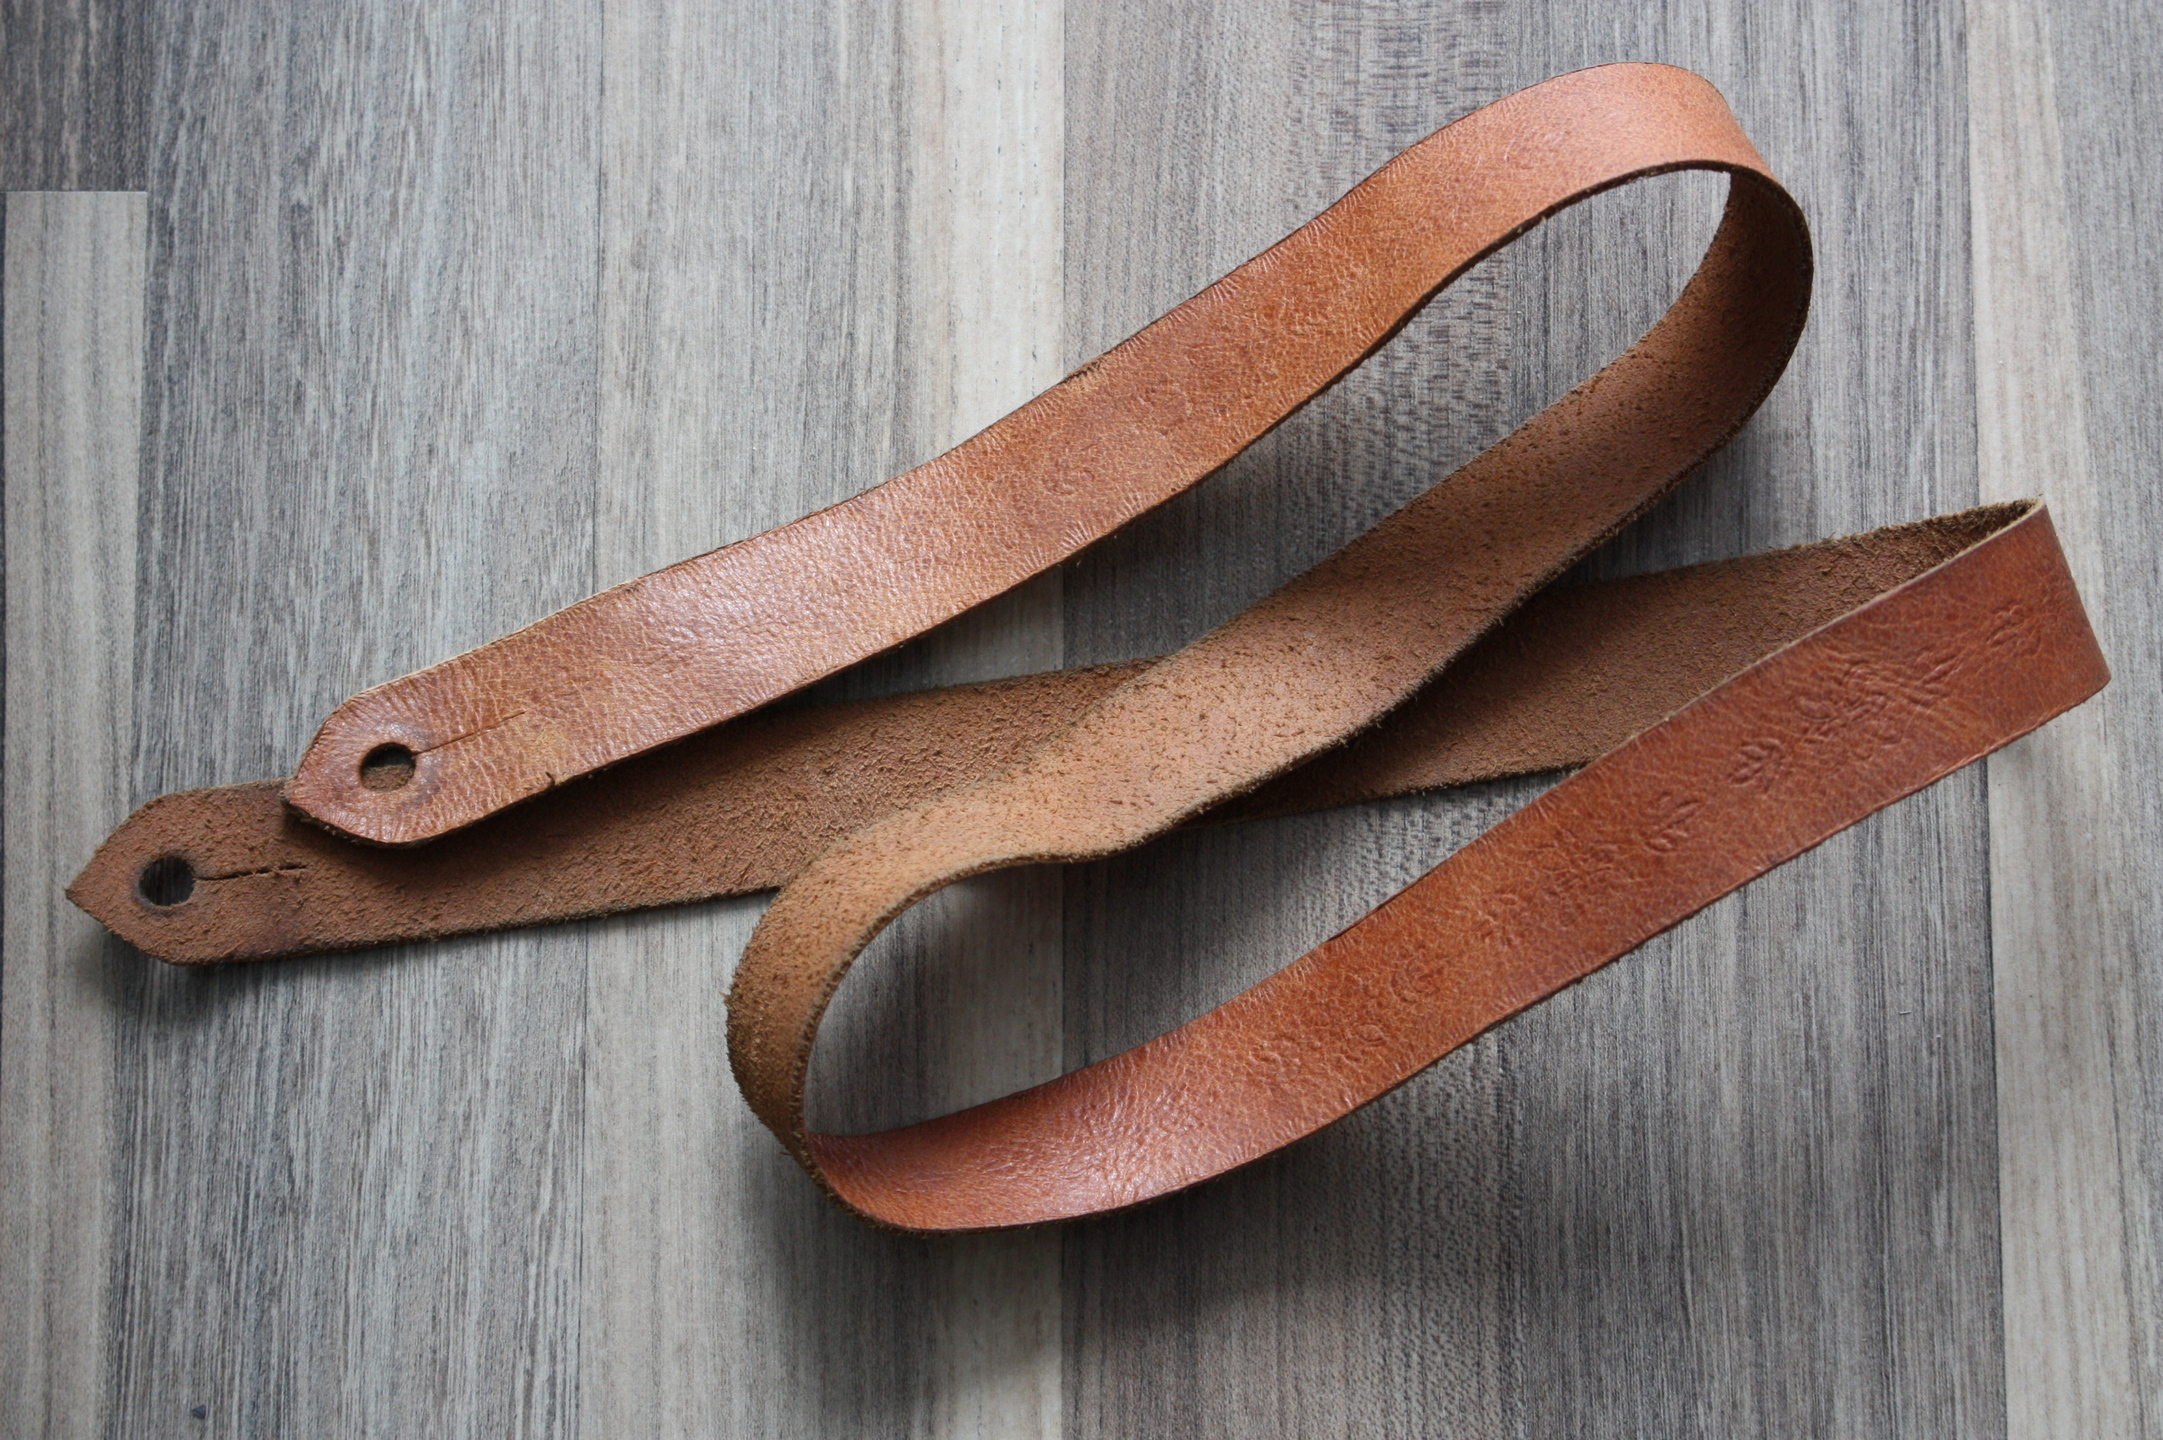
I had an old strap which didn't hold securely, it fell out from the screw. I wanted to throw it out and make a brand new one, but I was told to recycle it.
I tried to press patterns in this wet leather, but it is so bad that it doesn't hold anything. Just my old tries with flowers are still noticeable, but you must watch really close to spot anything.
Pyrography came into my mind. I was looking for inspiration, I thought feathers might do, but then I remembered the tatoo from Divergence and I started with birds.
The leather has one imperfection which was used as a wire for sitting swallow.
Birds are orientated to be upwards at each half of the strap and in the middle, owl connects both sides. One end has a hummingbird and the other a parrot.
I made a few loose stitches at the slit, pulled it over and fastened them, so that my ukulele will never fall of the strap again.
Here it is, ready for new adventures.

Wednesday, 12 April 2023

Apatite in the Cage

I bought an apatite as an amulet and I was looking for a way to wear it.

I twisted a wire, inserting a toothpick every few turns. I flattened it with a pair of round pliers. The same I did with the rest of the wire which would make the cage.

However, the wire was then fragile and I had like five messed tries before it finally didn't crack. 

I couldn't flatten the wire around the upper eyelet and at the ends that connect the cage wire toghether. These were the words places where it always broke during shaping.
The apatite necklace for good communication :-)

Monday, 20 March 2023

Busineess Cards Case

After playing cards and tarot cards... business cards are in queue :-)
Fiancé said he won't mind the color of the button, cause the company he works for is all red. And he chose (of course) the assymetrical pattern. The groove for pulling the business cards out started with a punched hole and was finished by scalpel.
I didn't buy the edges color yet, so I used my nail lacquer.
The sides were not painted until I sewed them together and made the edges even with scalpel and emery.
This time it was a bit easier, cause this leather I had was so damn waterproof that I couln't do anything else (like shaping or decoration).

Monday, 6 March 2023

Banjo Leather Strap

My boyfriend has an old banjo strap with name of his original band on it (like fifteen year ago..), while he's been playing in our current band for more than four years. I wanted a present for him, but this task wanted much more skills than I'd had..
So I bought some necessary stuff and learned on a few small projects. Then I ordered beef 6cm leather.
I measured the old strap and cut it to length pointed on both sides. I made the edges round with a scalpel. Two punched holes on each side. And two lines around the edges, that were originally just pressed to wet leather, but I finally made them deep with my swivel knife.
Everyone knows how expensive these alphabet stamps are! I finally found two western fonts I liked and combined them together for hand carved letters. The outline is done on wet leather with swivel knife and the crosshathing as well, but with very shallow cuts.
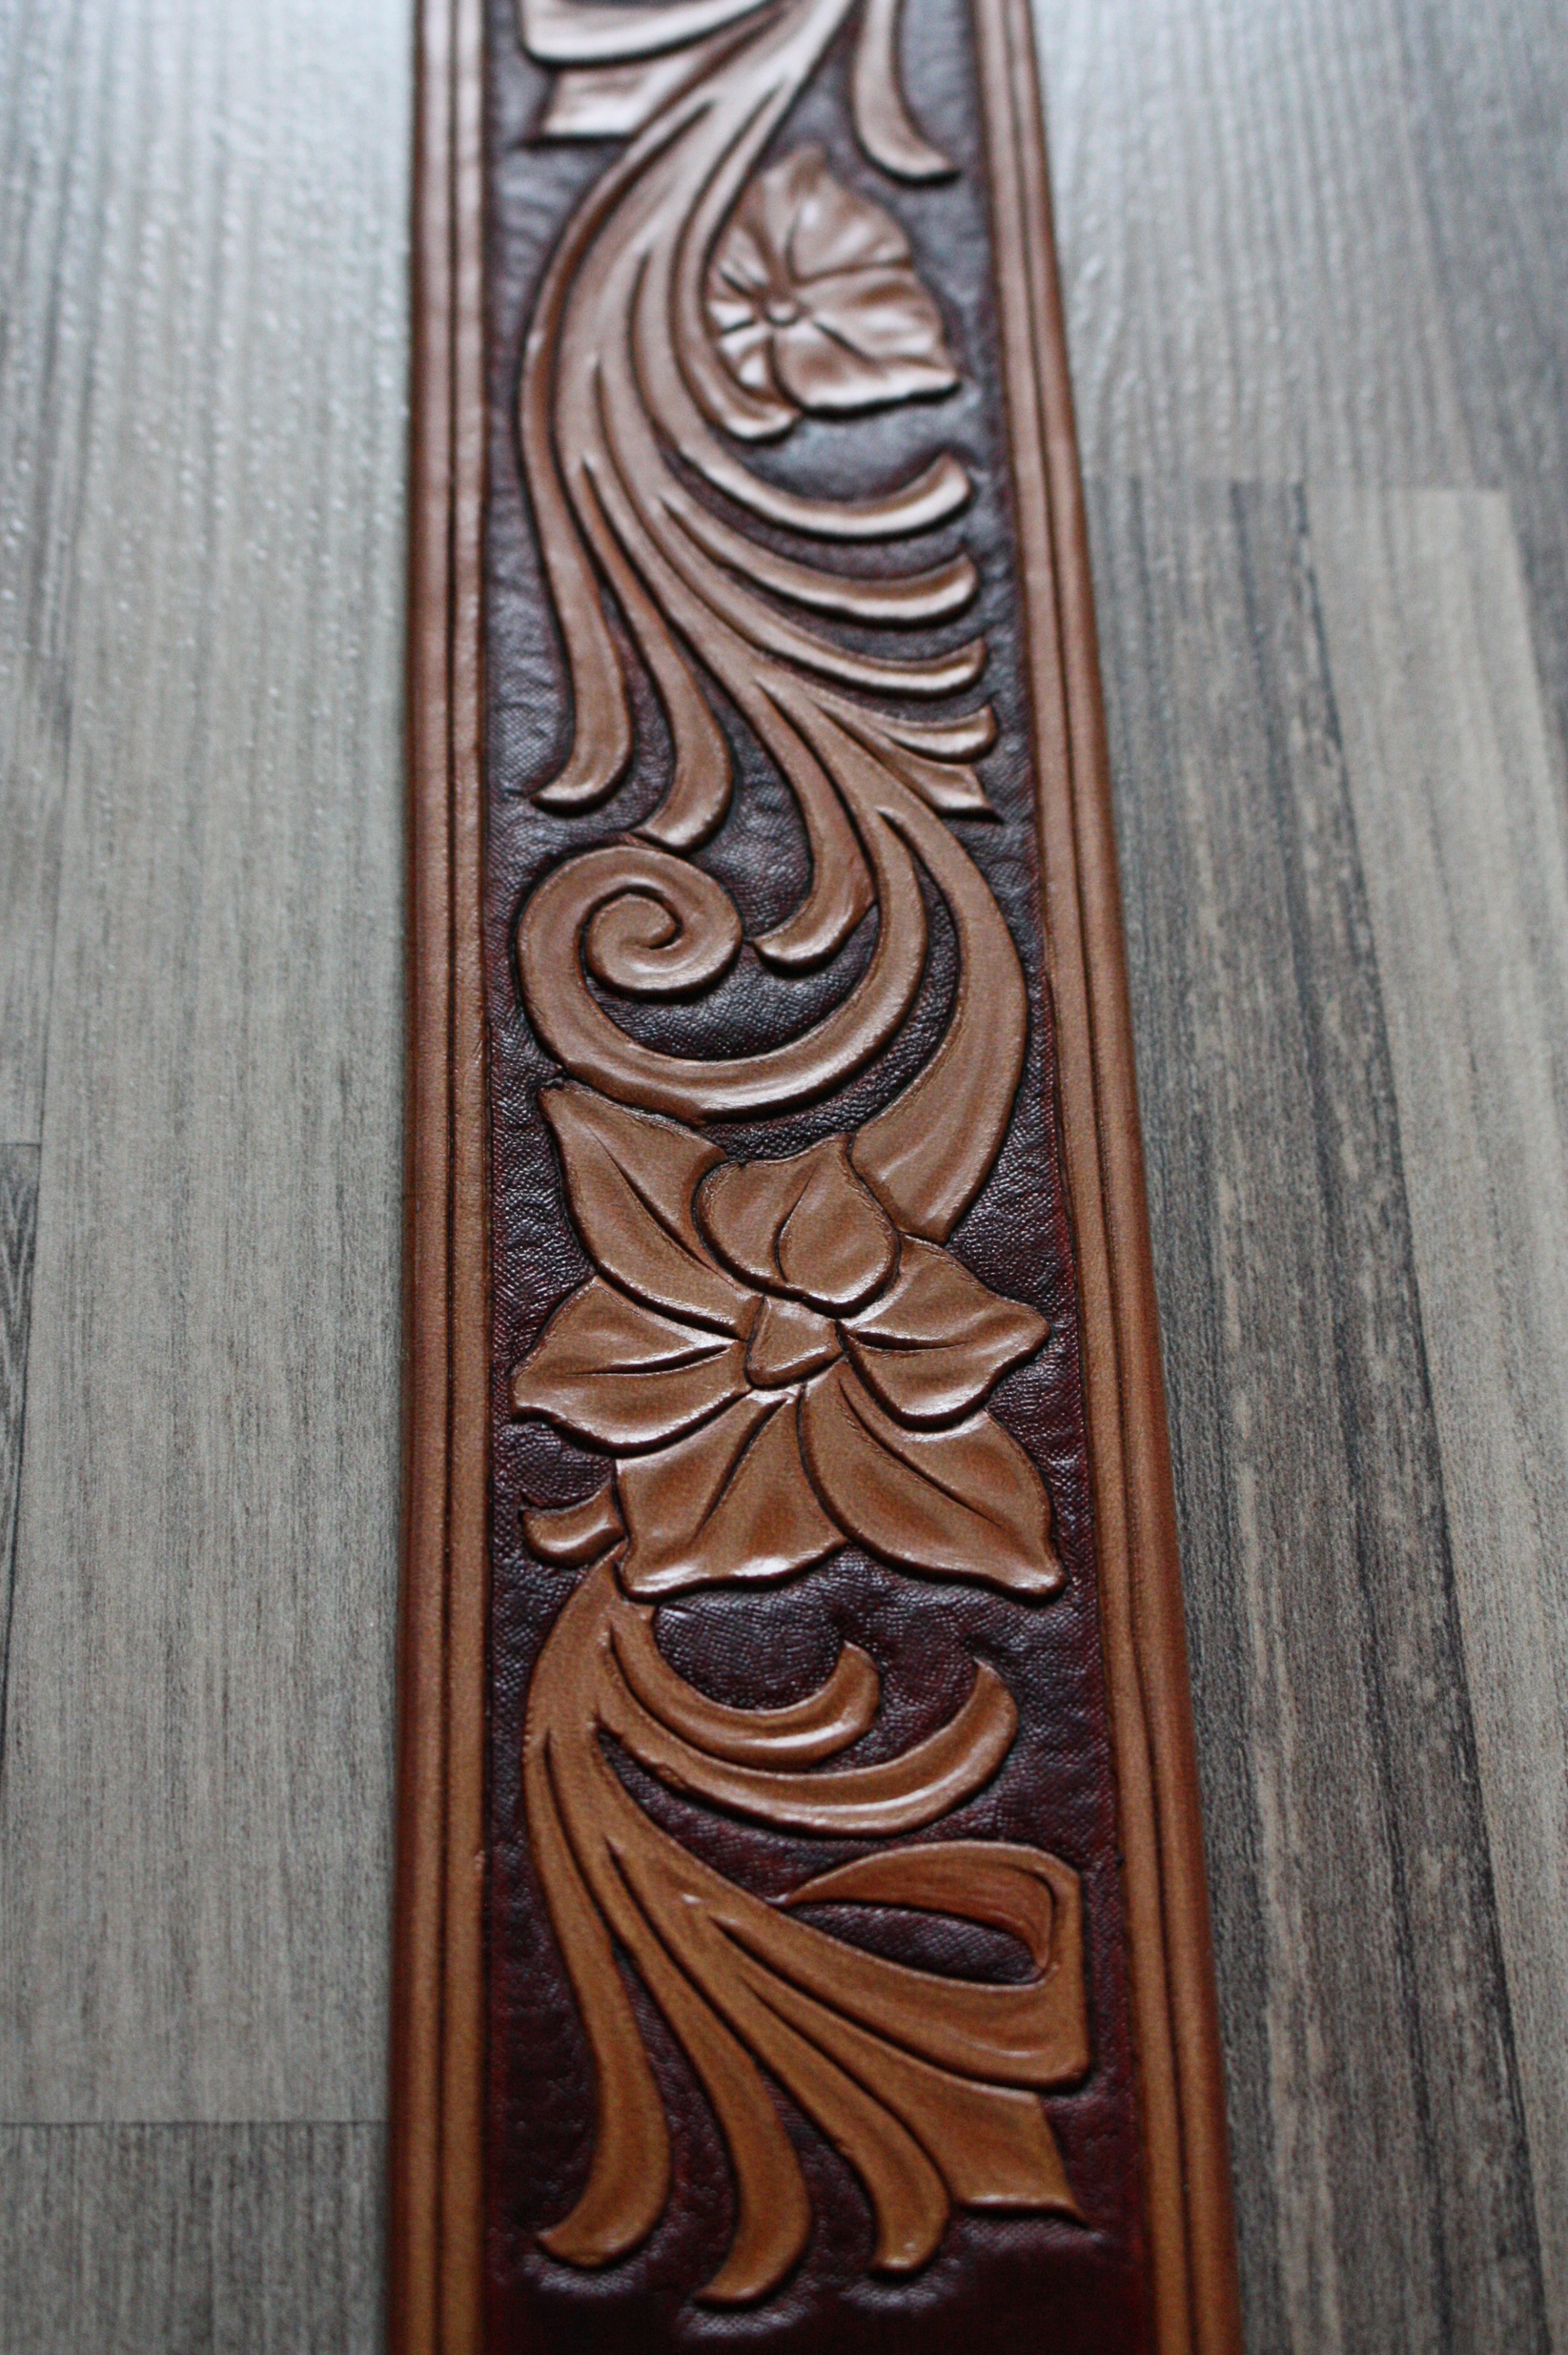
I found a flower pattern and made two mirrored drawings of it (drawing was unbelievably the most challenging part of this project). The pattern was then transferred with a ballpoint tool, pressing the lines over the paper to wet leather.
Then a lot of work with swivel knife. I even worked in office after work so that my fiance doesn't see it at home :-D
Then I learned how to stamp leather. I couldn't use hammer, as I live in a flat. So I made myself a leather thimble and pressed all with just my strength. I felt like I have been to gym..
First step is just flat smooth stamp - at every cut I made a groove from one side - like at the petals, I pressed on the outside, so that the petal stands out.
Then I used the dotted stamp to make the background.
Finally, there were details inside the petals and leaves that were made using the pear shaped stamp.
Everything has to be done on pretty wet leather. I also highlighted the inner edge line with a smooth stamp and outlines of each letter with a dotted one.
So this is the status of the strap before any dyeing.
I used to dye with a dye for wood, so I dyed here the whole strap with light brown.
But at the large smooth parts around the letters, I was afraid it would make stains, so I bought a real dye for leather to be sure. Anyway, dyeing to wet surface is the best way to prevent stains. After some hesitation, I added a second layer which gave it even more uniform color.
For the blossom background I used a really thin brush.
I applied one layer of resolene with woolen ball and wiped off the excess.
Drying in the bathroom behind the doors, he won't see it until he goes to bath or peeks behind the open door :-D Hiding the present all the time was quite an adventure!
When it was dry, I put a lot of antique and tried to remove it from the surface, while leaving it in the grooves. It's like mud. Resolene helped the light brown leather not to get dark.
Another coat of Resolene to finish the work. It should be waterproof now.
I don't know how, but I made it on time just before his birthday :-)
Beautiful leatherwork. I love how much I learned here.