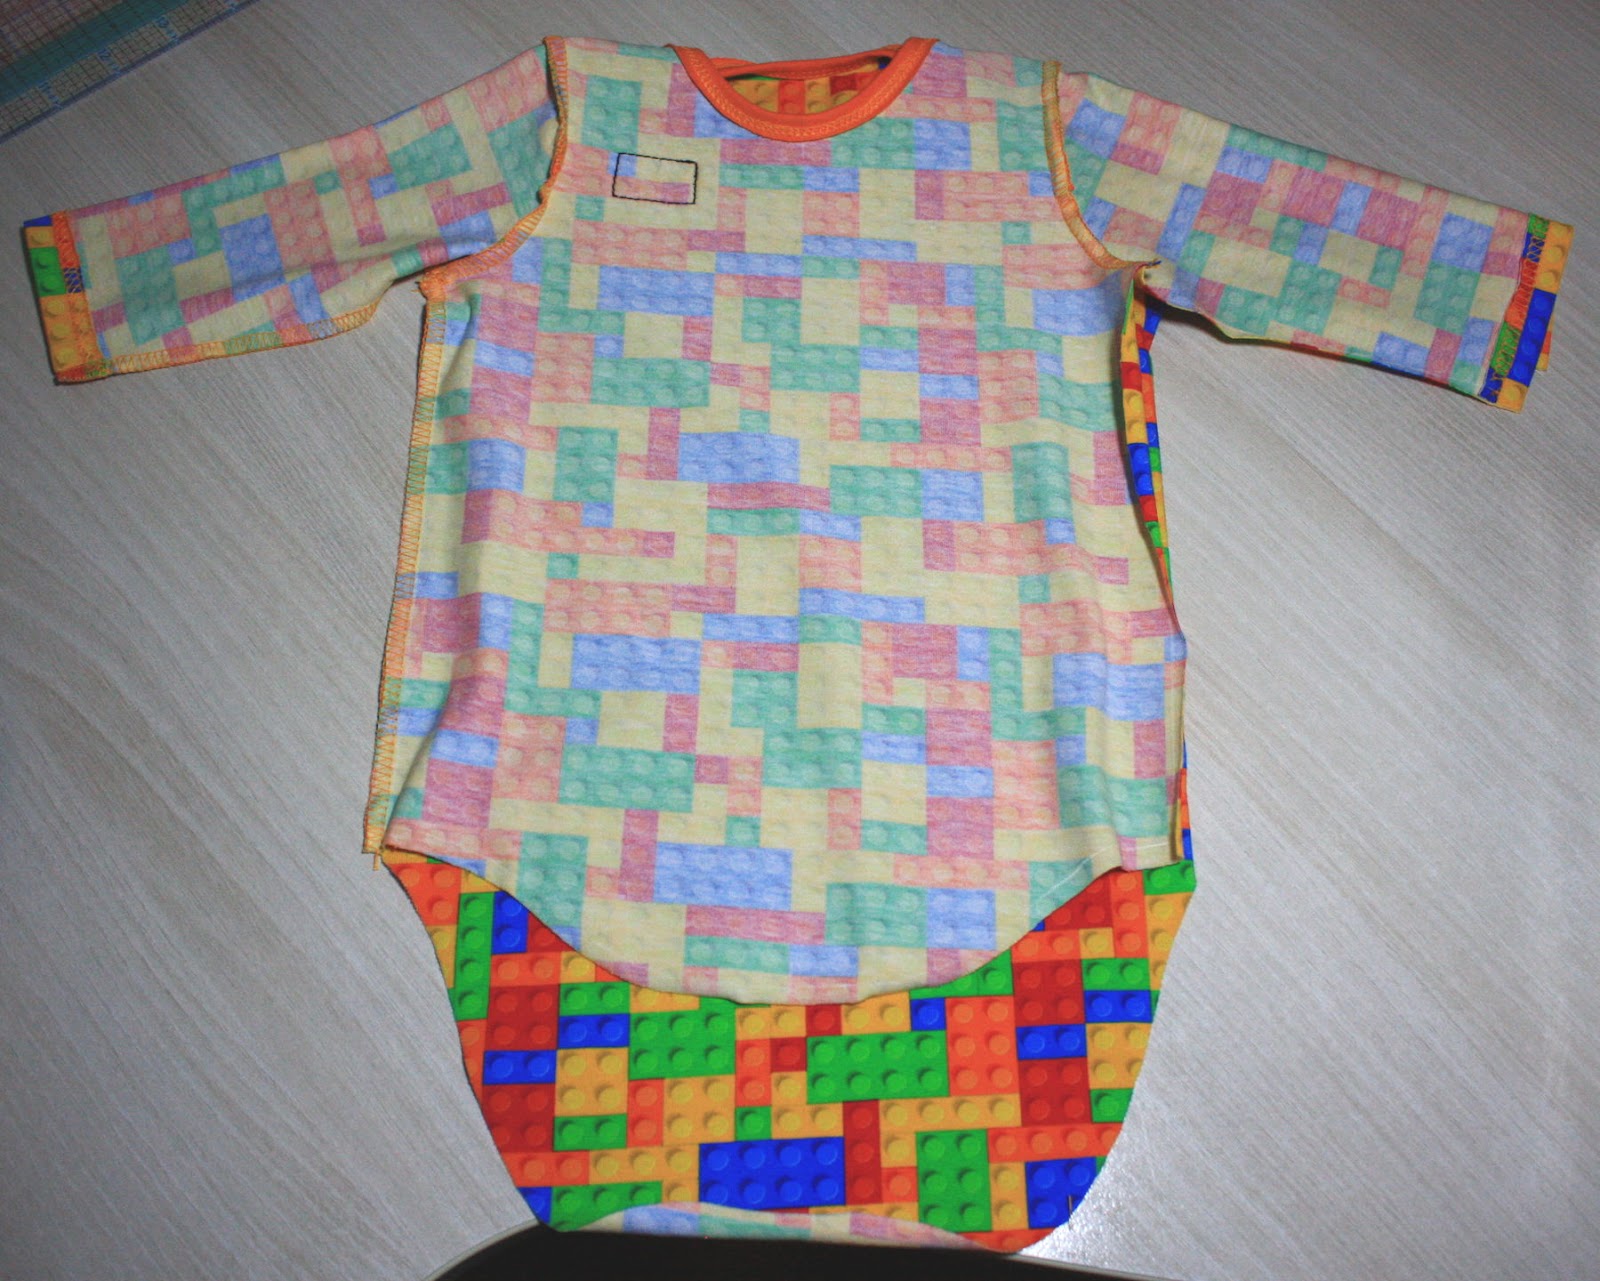
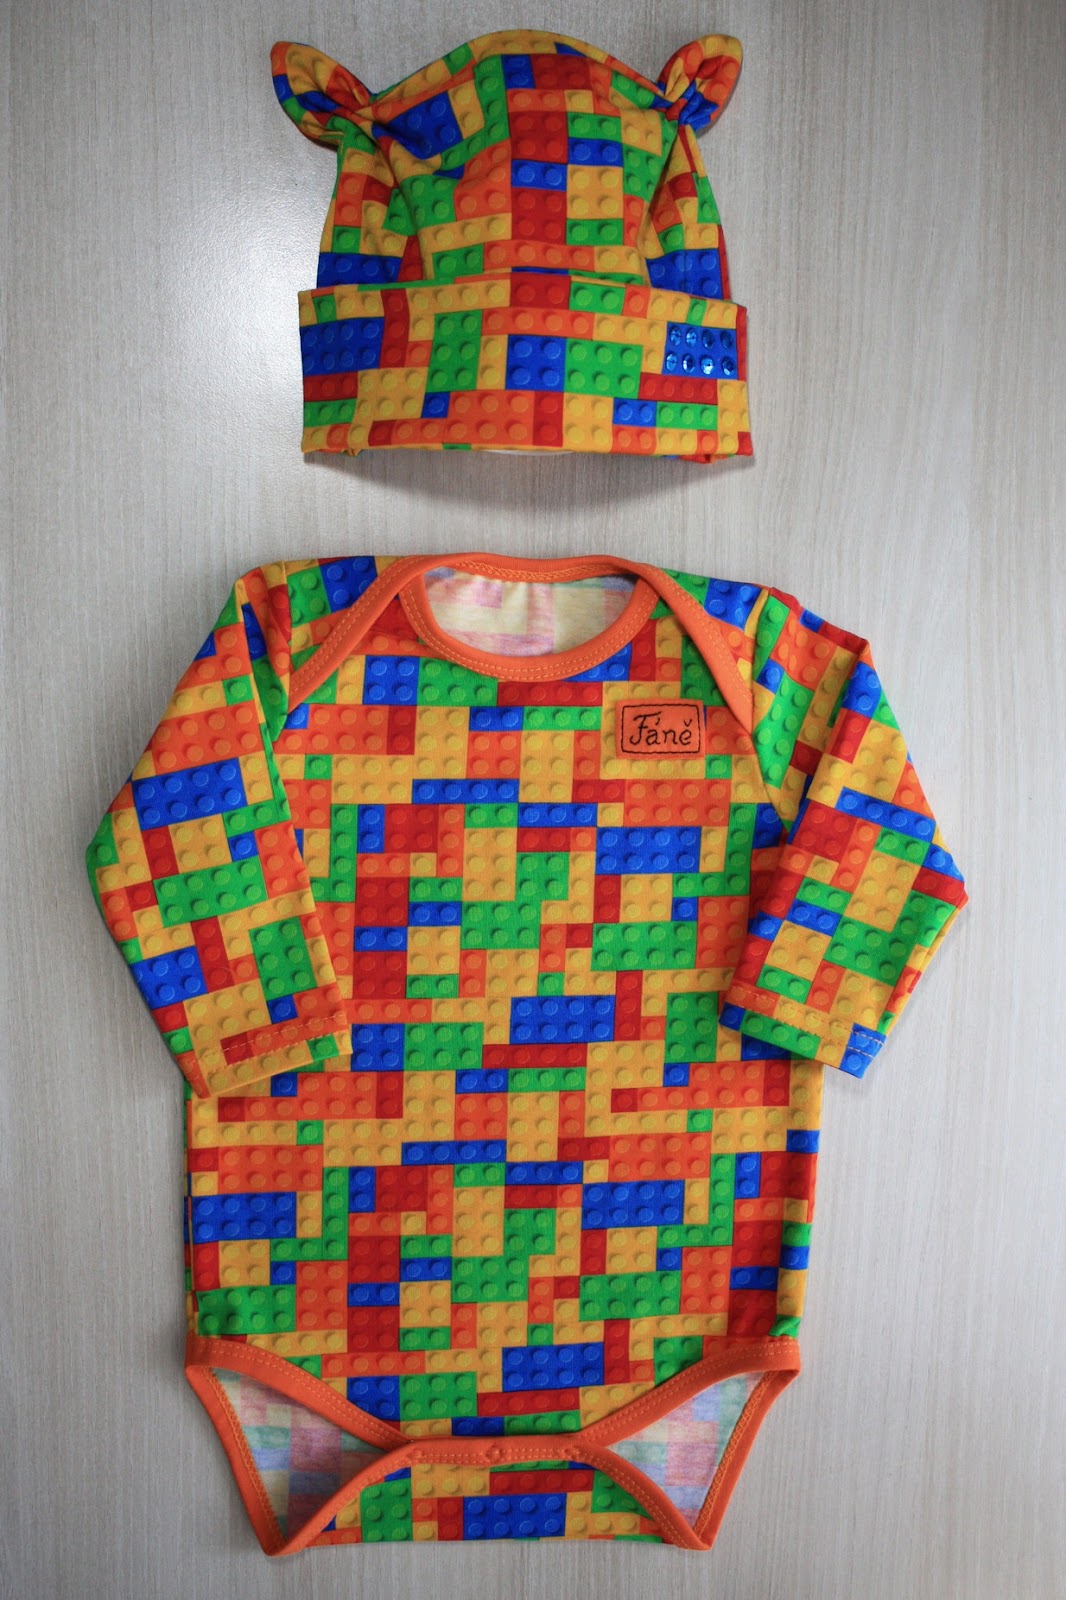
One more baby in our family - one more bodysuit. The pattern and process was the same as at Fox Bodysuit.
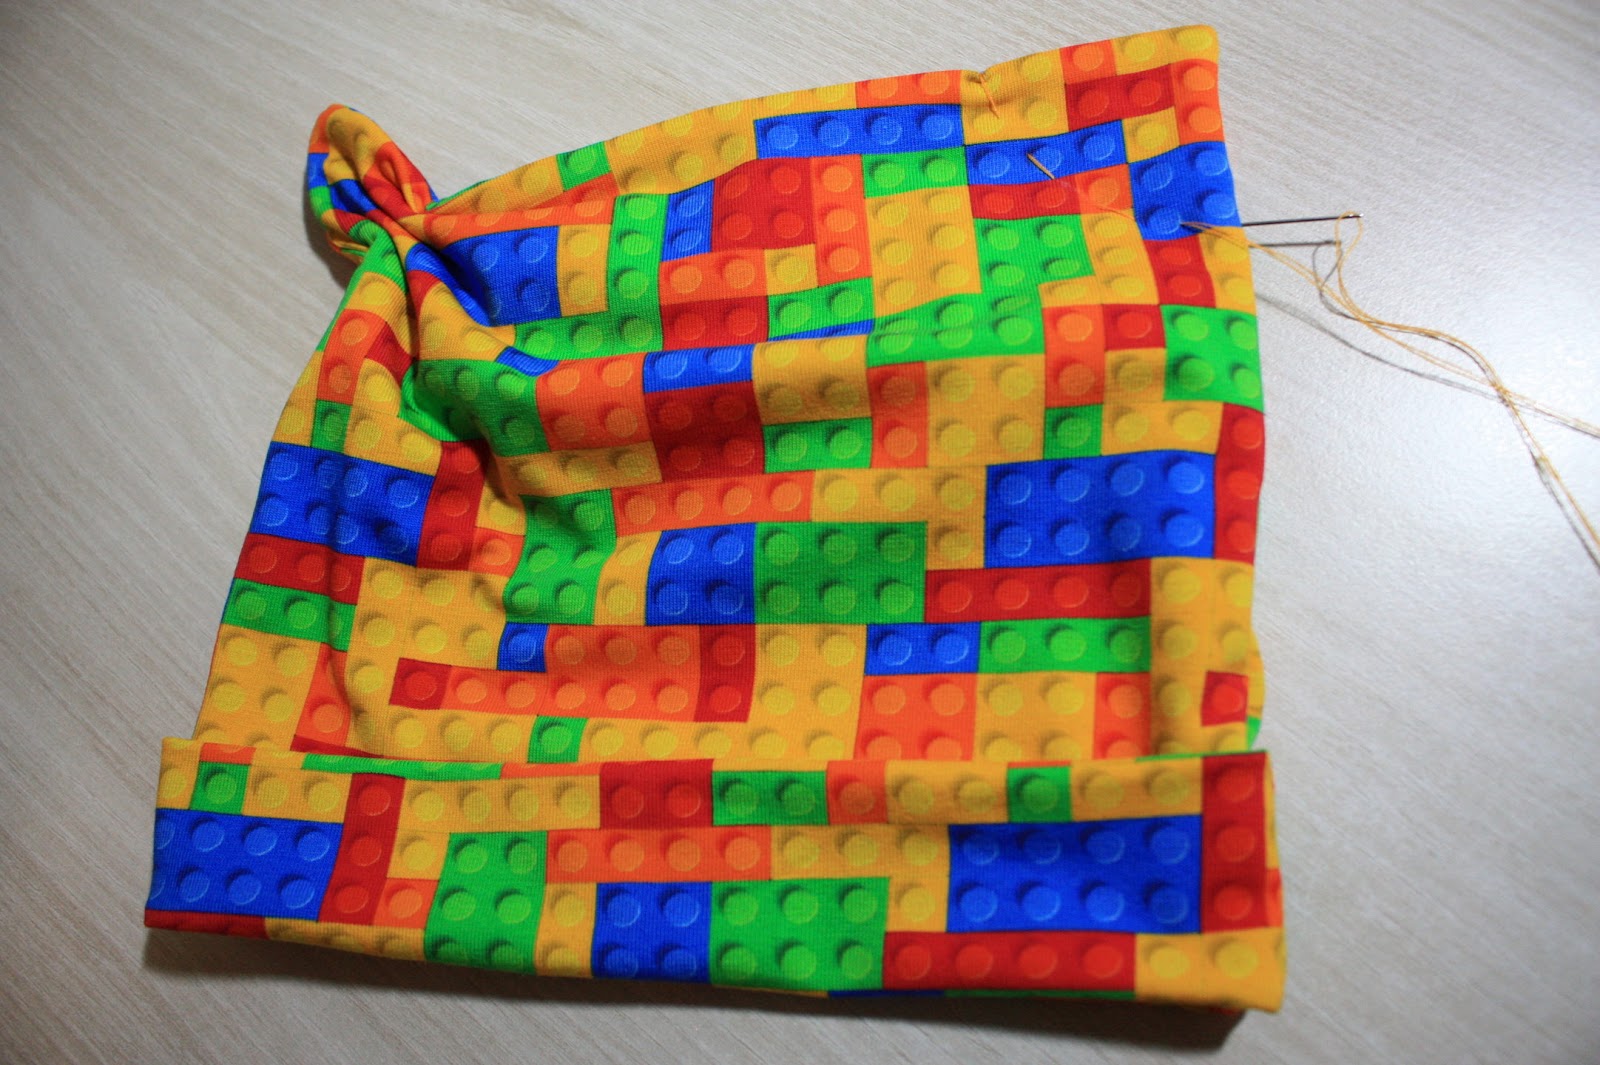
Half of the rectangle is turned over to the right side, so one half stays as inner layer. Then I sewed with front stitch the ears.
One more baby in our family - one more bodysuit. The pattern and process was the same as at Fox Bodysuit.
Half of the rectangle is turned over to the right side, so one half stays as inner layer. Then I sewed with front stitch the ears.
I drew a pattern and decided where will be the cuts for fabric alternation.
I joined the fabrics with serger and hemmed with coverlock (including sleeves).
I attached the seam with a straight stitch. To keep the stitch line flexible, I pulled it during sewing. Iron then helped to get back to shape what was pulled out.
For a neckline, I used 3 cm band cut from the main fabric. I ironed it in half, pinned the middle points and pinned evenly. Serged on, facing the band upwards.
This was an idea caught on Pinterest. The usual ball bought in a supermarket, hanging on a string inside a cage made of sticks. It took me some time to realize that all the joints were not tied with knot in fact. It was connected with a hot melt glue gun! However, the knots are great there anyway, as the glue works the best on rough surface, better than on smooth bark.
I also used a crooked birch branch to hang the feeder so that our balcony stays clean even with the bird visitors coming. At first, the birds were frightened that the cage moves when they fly in and break just before it - it began spinning. But after some time, they got the hang of it and a flock of tits kept coming regularly, having fun on the feeder.
I bought a bunch of rubber bands with funny writings on them.
I cut the right width and sewed each rubber band to a circle. I tried to flatten the seam as much as possible with two lines of stitches and an extra zig-zag line.
Now to the boxer shorts themselves. The front piece has a slit in the middle. Sewing it together is the first step.
The rest is in one piece. So I sewed one side of the center front piece with the rest at a side seam.
Then I wrapped the big piece so that it would fit inside the smaller...
...so that I could sew them together right sides in.
One short seam at the bottom.
And I hemmed the legs on coverlock machine.
Rubber band is sewed on in an unusual way - wrong sides in!!! Then it's turned over and added one more line of stitches at the rubber band side. The seam is neat from both sides this way. However, this way you mustn't forget to stretch the band while sewing as much as possible. If not, the threads can bread during taking the garment on.
A small project from scrap knit. I cut out a half circle skirt according to my waist circumpherence.
I used a technique that I'd learned on boxer shorts - I sew WRONG sides together, like a centimeter from the edge of the rubber band, then I fold the skirt panel down and add one more line of stitches at the very edge of the band. Of course pulling the rubber band a lot so that the seam is stretchy.
I missed embroidery in my life so I made something for sale to medieval bazaar. I picked a woolen pouch with some design from real medieval textiles.
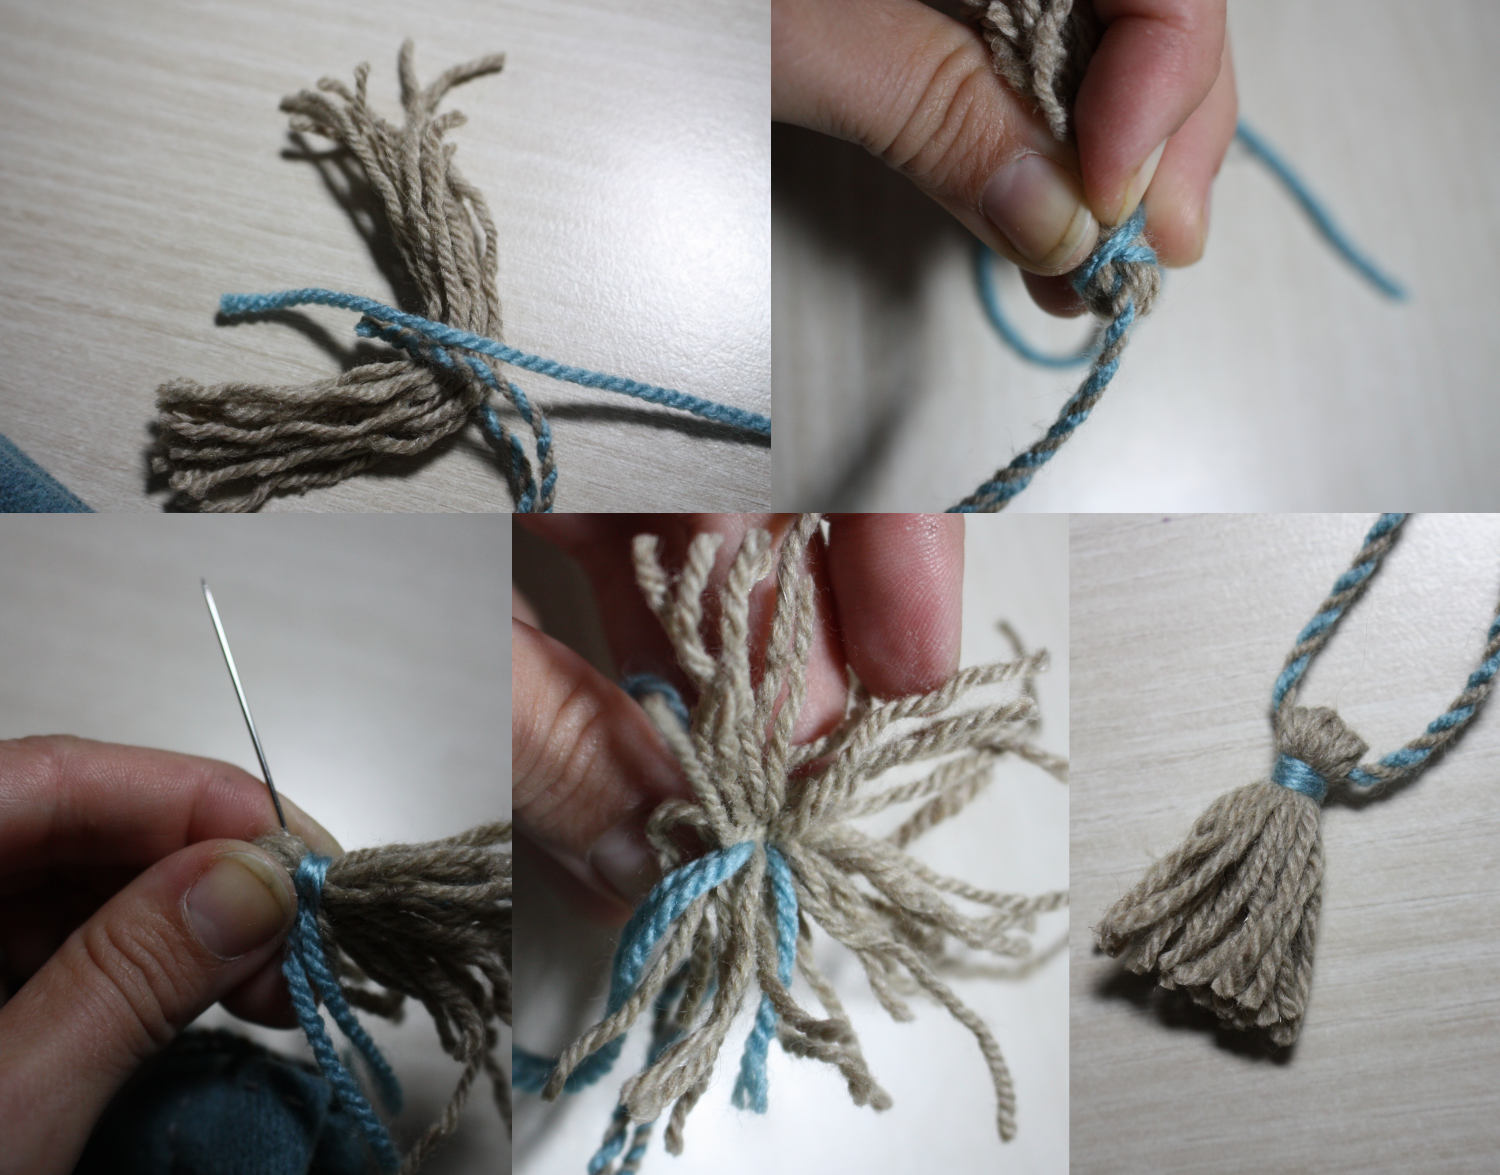
Here are just some pictures of how I made the strings for hanging. I tied two pieces of wool of different colors that would match the design. I used a drill to twist it and when the twist was tight, I folded it in half. It twisted together nicely.
Medieval pouches were often decorated with tassels, so I added some to the corners and to the fastening cords.
Ready to ship!
I wanted to try this type of bag, and I needed something to dry my bread leftovers for animals in.
I made some basic patter for seven segments with darts and a circle with circumference of the lower edge.