Again, again, again. I always end up admiring my customers' designs. This one is really cool :-)
Making a pattern meant precise measuring. The spiral always ends up at the right side and it must begin exactly at the same height and width on the left side.

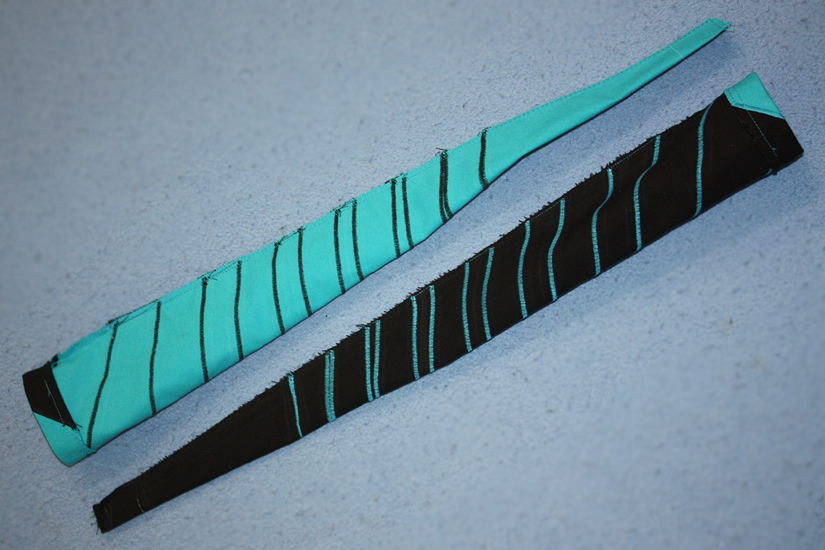
I cut out all of the pieces and drew the pattern on the base two pieces.

I sewed the spiral pieces on with a satin stitch, I attached them to the base with straight stitch. The straight stitch must be close enough to the edge so that it wouldn't be visible after sewing the poi together.

I serged the lower edge and ten centimeters of the side seam allowance. I marked the lower fold line and started sewing the poi together at the side seam. I didn't sew under the fold line to leave a gap for the cord.

I had to pin each satin line. The lines must connect exactly at the width of the seam allowance to make an impression of a continuous piece.

I folded the slit in and sewed to keep it in place.

When I folded the lower hem, I had to alternate the thread colours for the stitches not to be visible. I always prefer to have sleeve shaped things wrong side out when sewing the lower hem:-)

Are you curious what they'll look like when turned over?
So am I :-D