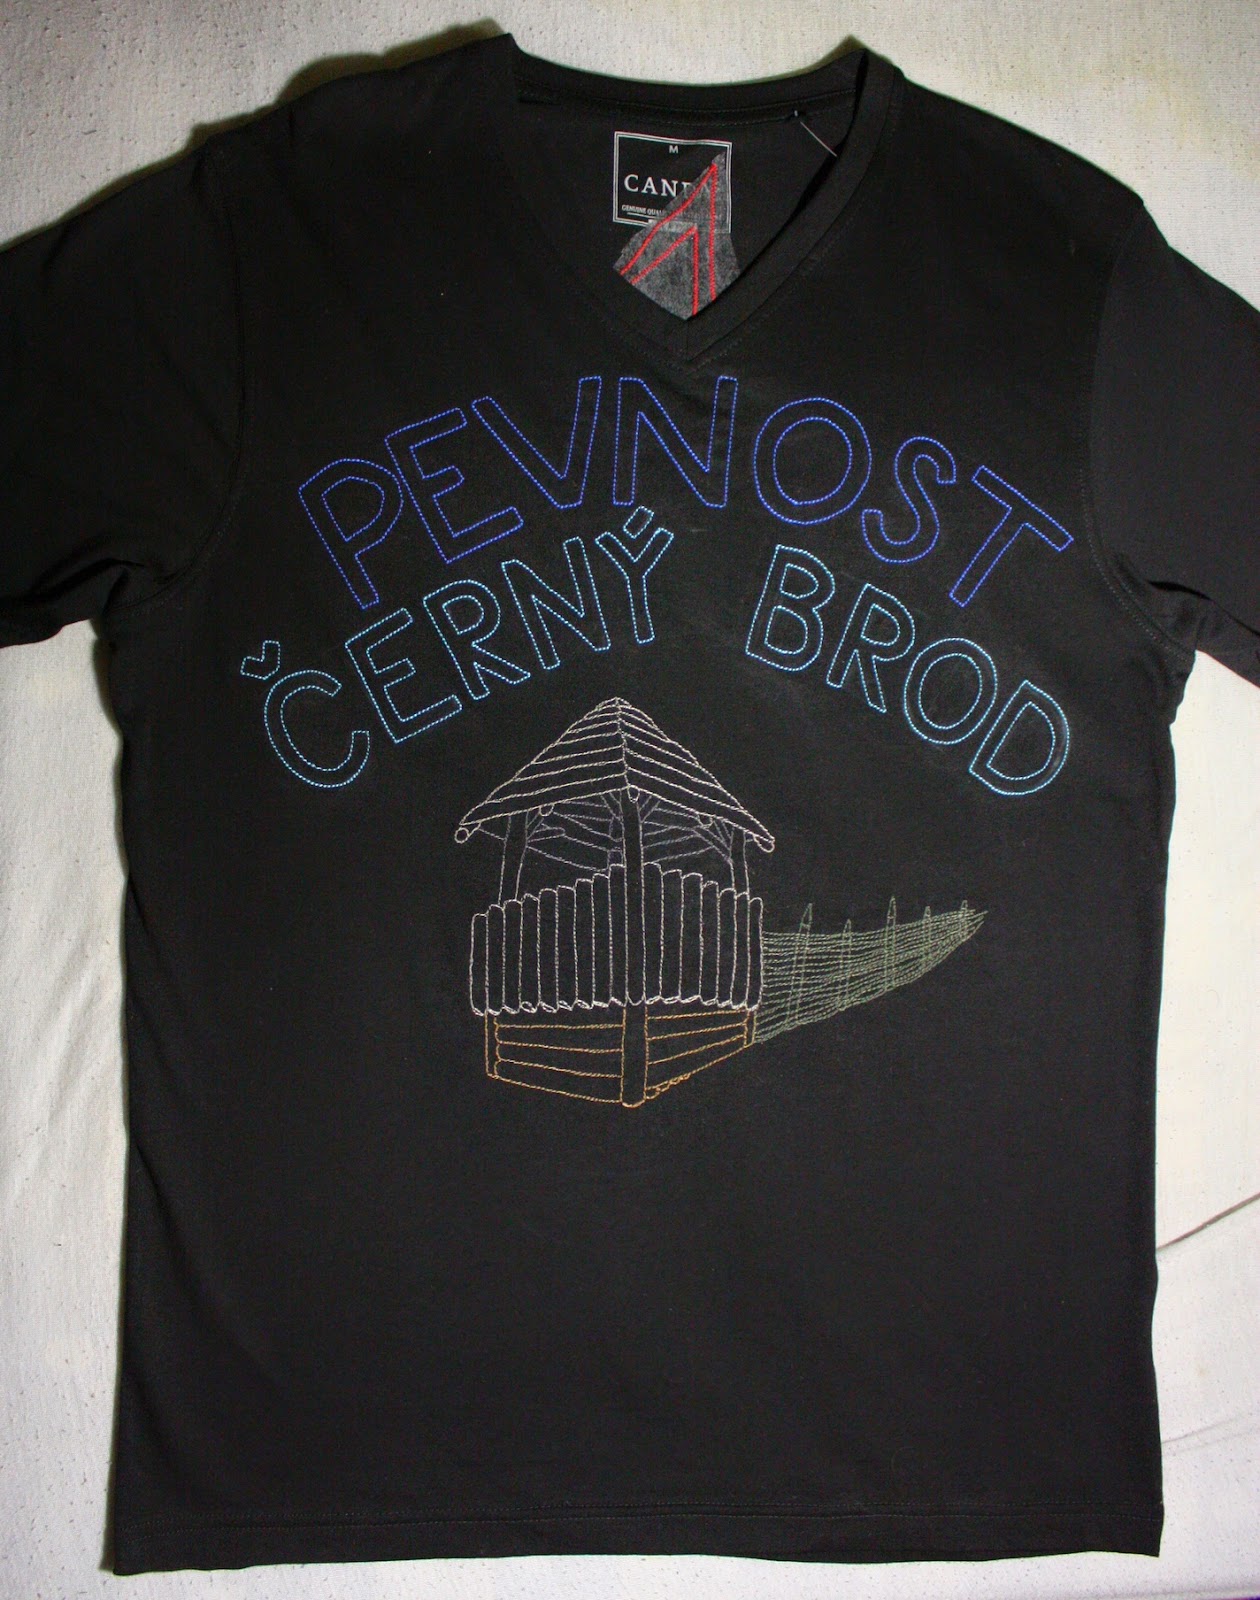
My boyfriend has birthday soon and I decided to make something special for him. We and couple of friends are building a small medieval village and I have chosen the most significant building. I printed a picture and was wondering how to transfer the image to black T-shirt with the least effort :)
So I folded the paper around the tower edges, drew lines around it and went on until I had the whole outline. The main proportions were right this way, than I drew the inner lines freehand.
I sewed the roof in light brown. To show the shadow under it, I used dark brown - I switched the color in the middle of line.
It is always good to have the same amount of stitch lines (more than one for a thin sewing thread). I went twice on every place.
At the roof and sides I made one zigzag, when I sewed back I did the zigzag the other way round, so the vertical lines were doubled.
Finally I doubled the outline. It's a bit like drawing house in one move :-) Seriously, at the tower, the most annoying was cutting the threads, pulling them back and tie. I did it at least ten times the roof.
You can see that the embroidery hoop leaves a trace. You should always embroider in a hoop, preferably with interfacing under.
At the fence I stretched the fabric to the hoop really tight, the stitches would shrink the fabric even more at wertical direction, where T-shirts stretch the most.
When I made wattle fence, I drew a bit of rastr. You don't have to draw every line you embroider, but it's good to have something to keep the right direction.
At the back, a name of his favourite god is to be written in Futhark runes. Who can say which one it is? :-)
I was quite afraid doing applique on knit. I ironed the fusible interfacing on the red knit and cut out the letters. I also ironed it on the wrong side of the T-shirt, but as small pieces as possible. I marked their position by pin - I put it to the tips and drew a mark from the wrong side.
When I started sewing, I wished I'd used a double sided fusible interfacing, it helps a lot. I was afraid to use too dense zigzag stitch on knit, so I ended up with this.
At this project, the only thing I didn't draw freehand was the tower outline. Formerly I would have printed the letters, cut and outline. Not here. Even the loki went that way. But it's important to mark the height of the letters first. The neat width was kept because I sewed at a foot-width.
The letters had easy shapes so I could use a stitch when the machine makes one stitch forward, one backward and two forward. It looks the best when you can use feeding and don't have too many curves.
Not working anymore today, I've been embroidering for about six hours in a row and I'm dead! But only one writing remains, ironing and it will be done.