Saturday, 29 April 2023

Ukulele Strap

After making the banjo strap there's time to make something for myself... better to say for my uke.
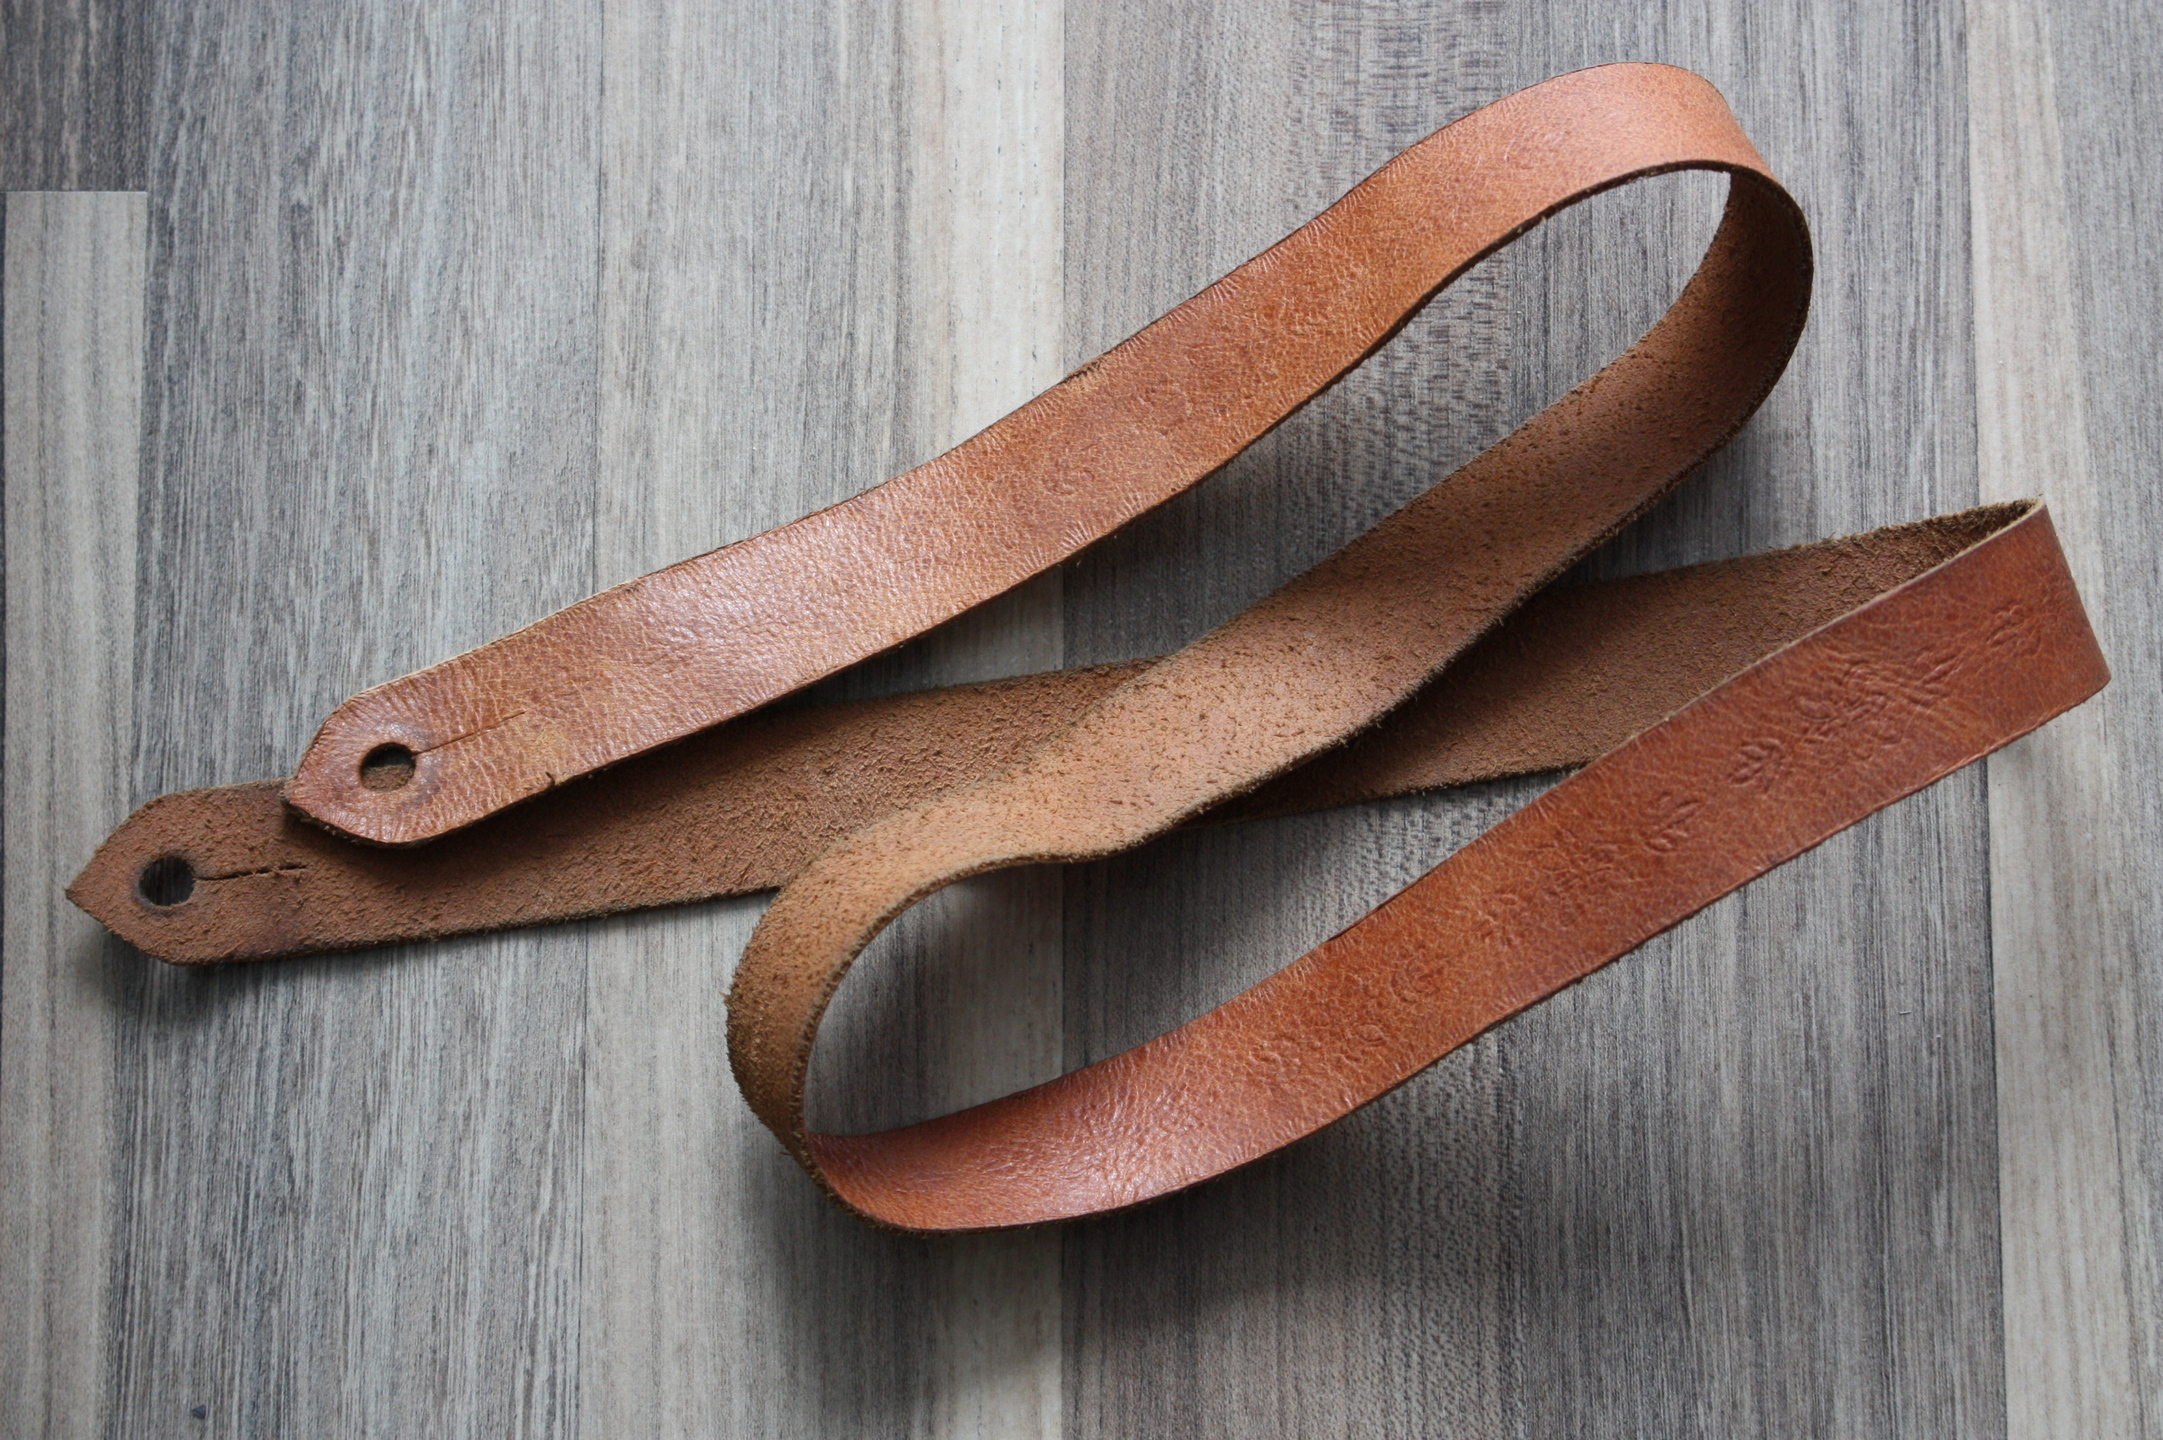
I had an old strap which didn't hold securely, it fell out from the screw. I wanted to throw it out and make a brand new one, but I was told to recycle it.
I tried to press patterns in this wet leather, but it is so bad that it doesn't hold anything. Just my old tries with flowers are still noticeable, but you must watch really close to spot anything.
Pyrography came into my mind. I was looking for inspiration, I thought feathers might do, but then I remembered the tatoo from Divergence and I started with birds.
The leather has one imperfection which was used as a wire for sitting swallow.
Birds are orientated to be upwards at each half of the strap and in the middle, owl connects both sides. One end has a hummingbird and the other a parrot.
I made a few loose stitches at the slit, pulled it over and fastened them, so that my ukulele will never fall of the strap again.
Here it is, ready for new adventures.

Wednesday, 12 April 2023

Apatite in the Cage

I bought an apatite as an amulet and I was looking for a way to wear it.

I twisted a wire, inserting a toothpick every few turns. I flattened it with a pair of round pliers. The same I did with the rest of the wire which would make the cage.

However, the wire was then fragile and I had like five messed tries before it finally didn't crack. 

I couldn't flatten the wire around the upper eyelet and at the ends that connect the cage wire toghether. These were the words places where it always broke during shaping.
The apatite necklace for good communication :-)

Monday, 20 March 2023

Busineess Cards Case

After playing cards and tarot cards... business cards are in queue :-)
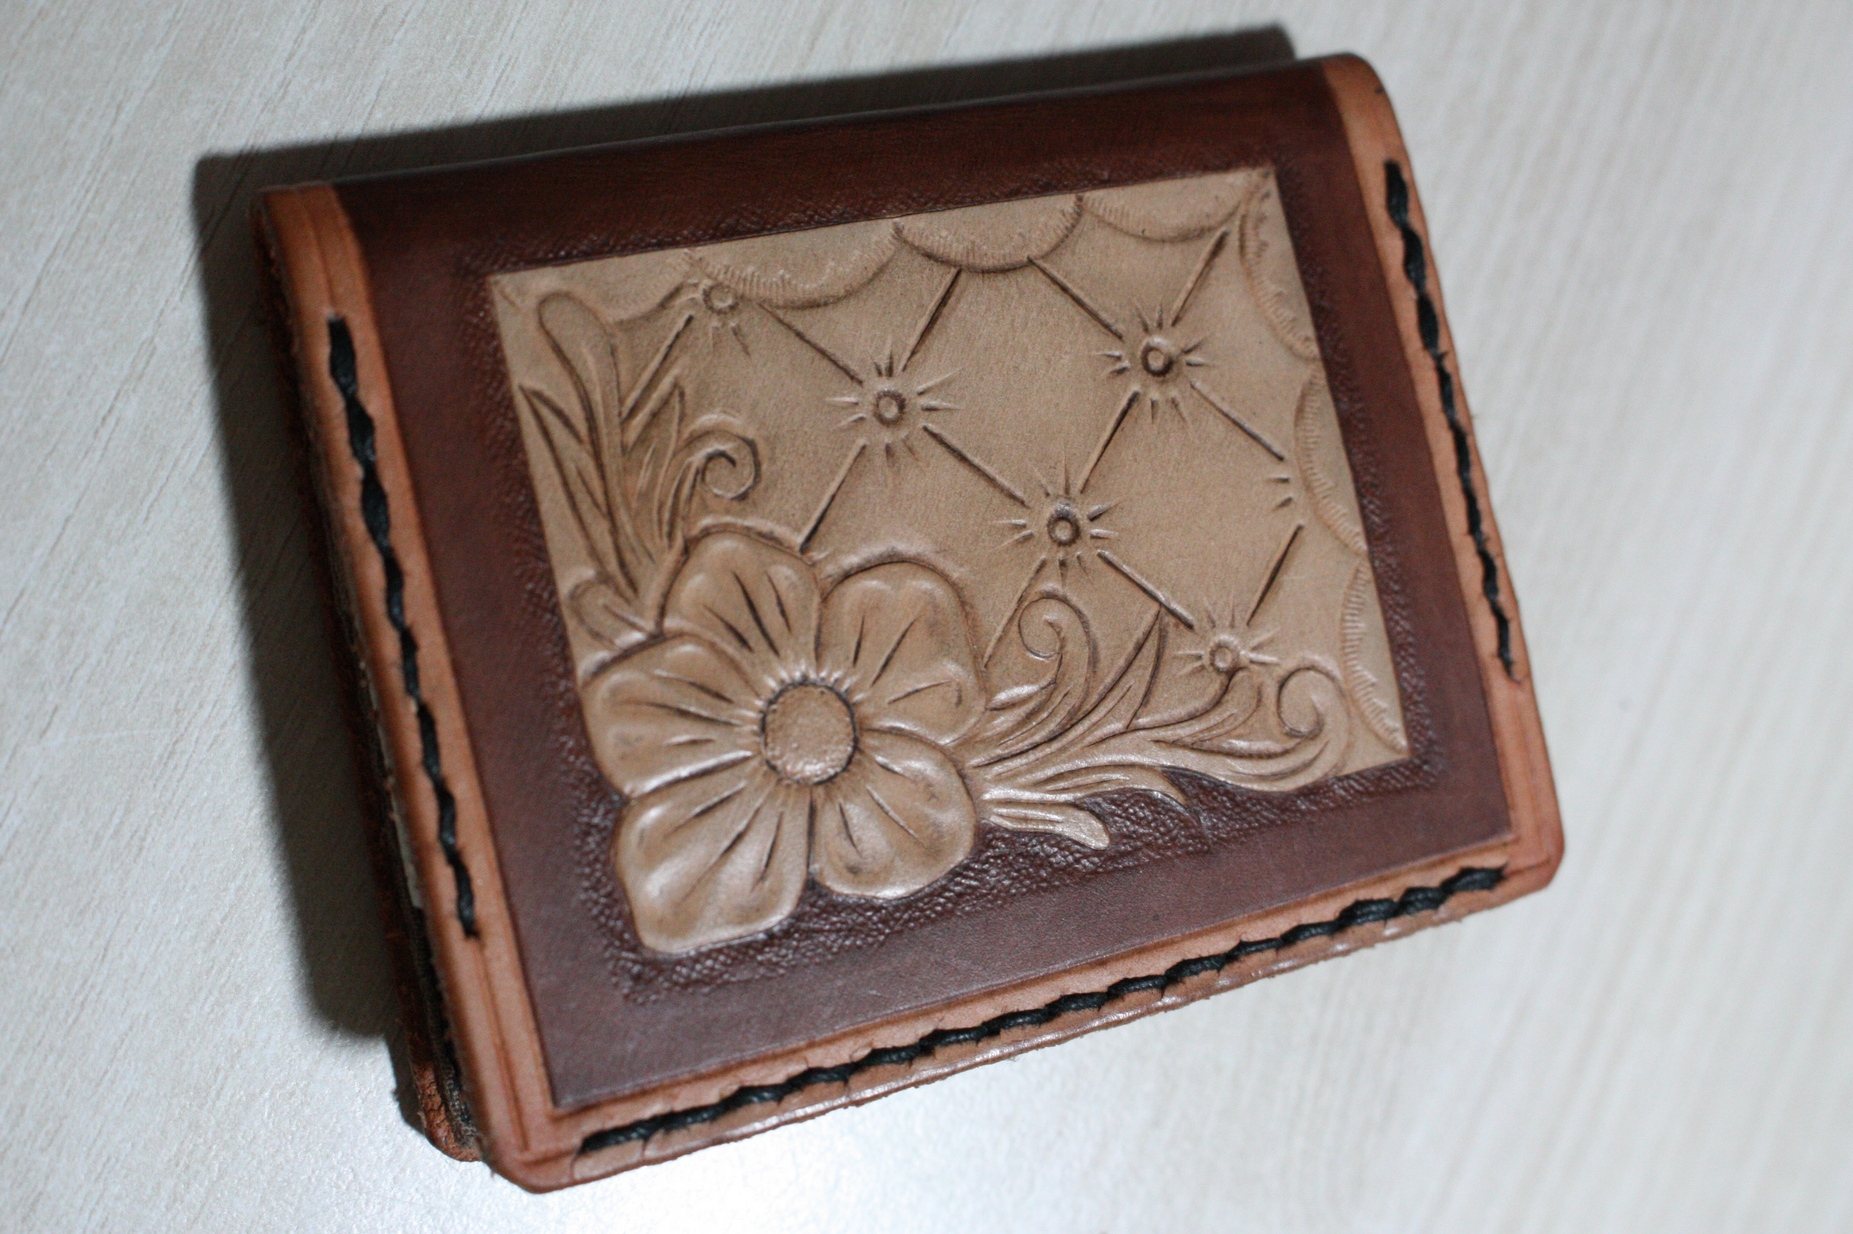
Fiancé said he won't mind the color of the button, cause the company he works for is all red. And he chose (of course) the assymetrical pattern. The groove for pulling the business cards out started with a punched hole and was finished by scalpel.
I didn't buy the edges color yet, so I used my nail lacquer.
The sides were not painted until I sewed them together and made the edges even with scalpel and emery.
This time it was a bit easier, cause this leather I had was so damn waterproof that I couln't do anything else (like shaping or decoration).

Monday, 6 March 2023

Banjo Leather Strap

My boyfriend has an old banjo strap with name of his original band on it (like fifteen year ago..), while he's been playing in our current band for more than four years. I wanted a present for him, but this task wanted much more skills than I'd had..
So I bought some necessary stuff and learned on a few small projects. Then I ordered beef 6cm leather.
I measured the old strap and cut it to length pointed on both sides. I made the edges round with a scalpel. Two punched holes on each side. And two lines around the edges, that were originally just pressed to wet leather, but I finally made them deep with my swivel knife.
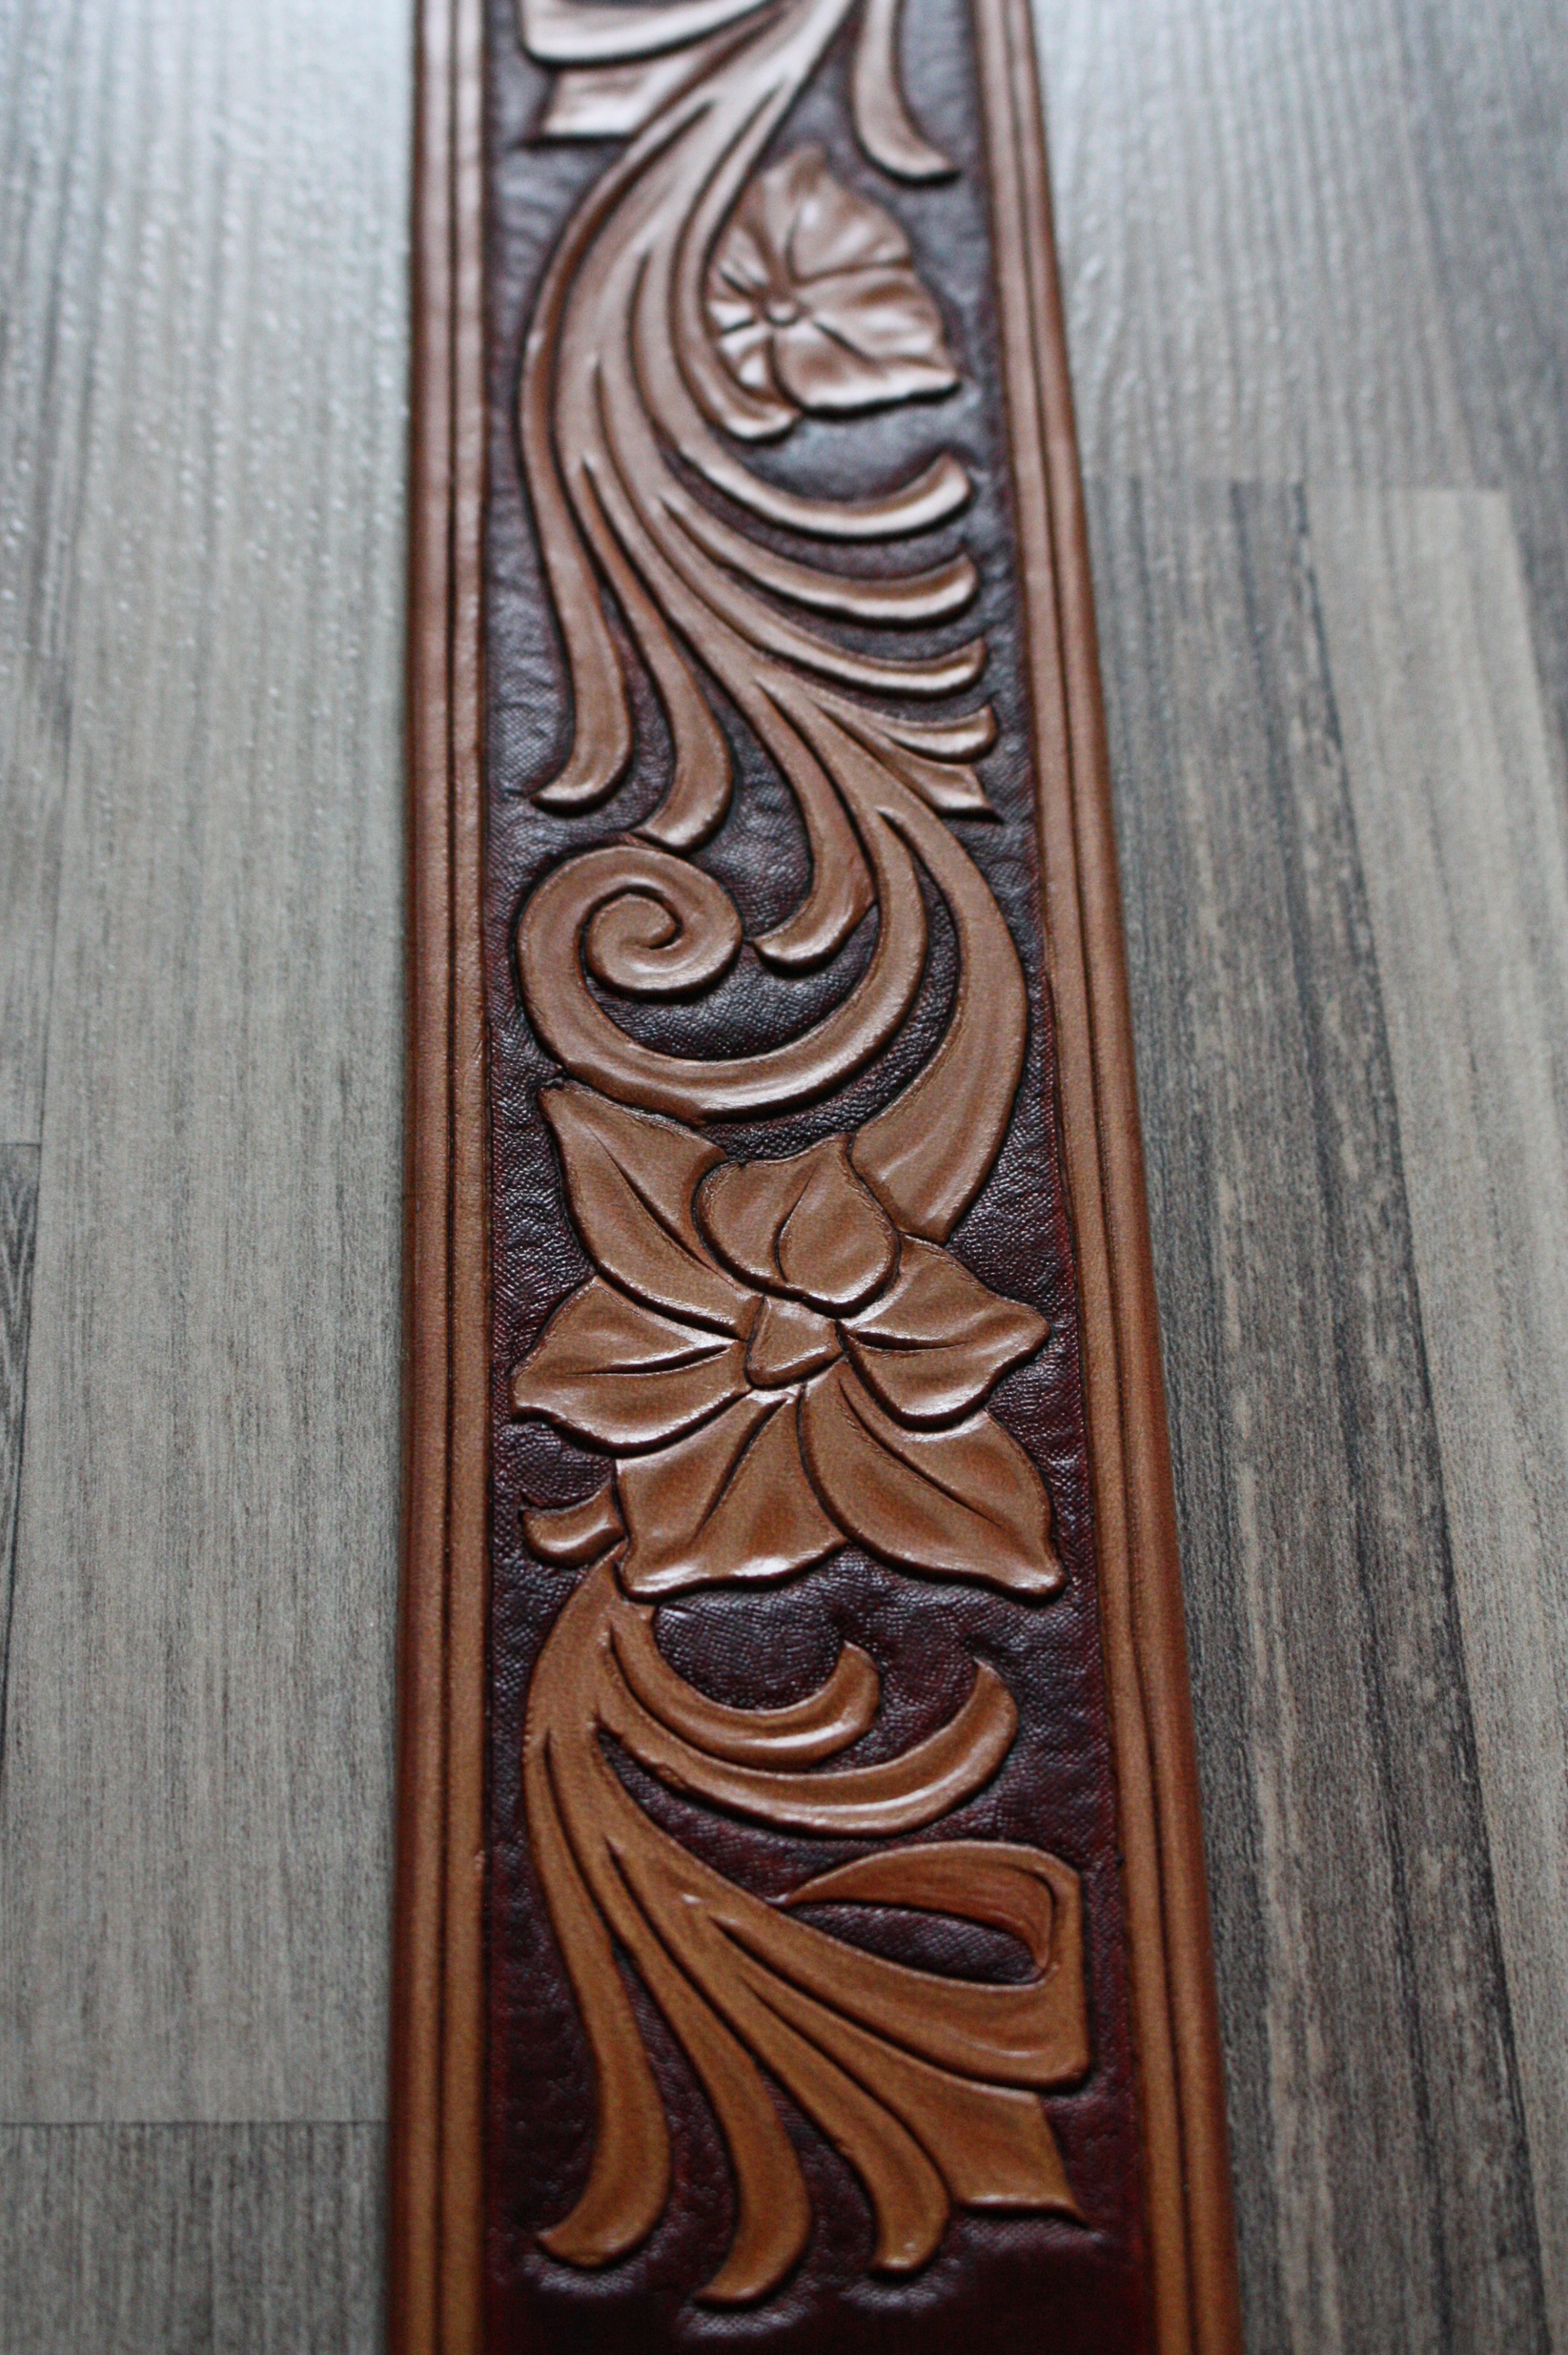
Everyone knows how expensive these alphabet stamps are! I finally found two western fonts I liked and combined them together for hand carved letters. The outline is done on wet leather with swivel knife and the crosshathing as well, but with very shallow cuts.
I found a flower pattern and made two mirrored drawings of it (drawing was unbelievably the most challenging part of this project). The pattern was then transferred with a ballpoint tool, pressing the lines over the paper to wet leather.
Then a lot of work with swivel knife. I even worked in office after work so that my fiance doesn't see it at home :-D
Then I learned how to stamp leather. I couldn't use hammer, as I live in a flat. So I made myself a leather thimble and pressed all with just my strength. I felt like I have been to gym..
First step is just flat smooth stamp - at every cut I made a groove from one side - like at the petals, I pressed on the outside, so that the petal stands out.
Then I used the dotted stamp to make the background.
Finally, there were details inside the petals and leaves that were made using the pear shaped stamp.
Everything has to be done on pretty wet leather. I also highlighted the inner edge line with a smooth stamp and outlines of each letter with a dotted one.
So this is the status of the strap before any dyeing.
I used to dye with a dye for wood, so I dyed here the whole strap with light brown.
But at the large smooth parts around the letters, I was afraid it would make stains, so I bought a real dye for leather to be sure. Anyway, dyeing to wet surface is the best way to prevent stains. After some hesitation, I added a second layer which gave it even more uniform color.
For the blossom background I used a really thin brush.
I applied one layer of resolene with woolen ball and wiped off the excess.
Drying in the bathroom behind the doors, he won't see it until he goes to bath or peeks behind the open door :-D Hiding the present all the time was quite an adventure!
When it was dry, I put a lot of antique and tried to remove it from the surface, while leaving it in the grooves. It's like mud. Resolene helped the light brown leather not to get dark.
Another coat of Resolene to finish the work. It should be waterproof now.
I don't know how, but I made it on time just before his birthday :-)
Beautiful leatherwork. I love how much I learned here.

Tuesday, 28 February 2023

Minimalistic Leather Wallet

 Minimalistic leather wallet. Well, in my hands, it won't be so minimalistic. But at least thinn.
I took a rectangle of leather, one half slightly bigger than a credit card. 
I dumped it in water and bent in the middle and let dry.
I made the edgees smooth and the edge grooves (pressed in with a needle on wet leather). I cut the corners with a scalpel.
I made holes with fork and hammer. Then I carved the design with a swivel knife.
I tried to learn how to use stamps here.
I dyed the edges and background with wood dyes.
Here is a detail from shaping the insides. I used a ballpoint pen to get the curve. I had to make it bigger so that the wallet wouldn't open when full of cards.
I had to use fabric to hold my banknotes and any returned coins. Well, not so minimalistic, but practical at least.
I applied balm and antique so that the design outlines stand out. Balm however did not prevent the undyed leater to get greyish from the antique. When I have Resolene, I will make more experiments with it.
Finished wallet.
I planned to have it just for fun, maybe to go to the pub, but it sneaked out to be my main and only wallet somehow :-D

Tuesday, 14 February 2023

Tarot Cards Case

New passion requires new case!
I reused the fastening type that I made at my playing cards case.
In fact I even reused its side panel (in this photo, a corner shaped and here straightened again shows with some crincles). The holes were done in 45 degrees with an awl.
I cut out the bumps that the awl created so that the pieces can fit snuggly to each other.
The sharp edge was cut to angle.
I dumped it in water and smoothened it with short fast moves.
This is how it looks then.
I cut a hole to get the cards out comfortably.
I transferred a few holes from the side panel to the front one..
And then to the back piece.
Fastening was dumped in water and formed to shape to fit the strap.
I marked grooves where the leather would bend.
Soaked in water and let dry in the final shape.
After drying it fits quite well (it took me two tries).
Decoration is done to wet leather with a blunt needle.
I made a basic dyeing. Then I dumped piece of sheet in dark brown, let it dry a bit and lightly with circular moves antiqued the edges.
After that, the edges were painted with dark brown. I glued the fastening on. Needles helped me to get the right position.
I sewed with the same stitch that I used for the playing cards. Sun was painted with acrylics.
My tarot deck is contented.