Friday, 22 December 2023

Fox T-Shirt

I found out that knitted fabrics roll as hell after washing, and I didn't want to lose the edge of these beautiful fabrics. So I washed them folded in half, basted edges. This is one of ways to eliminated the rolling.


I drew a pattern and decided where will be the cuts for fabric alternation.

I joined the fabrics with serger and hemmed with coverlock (including sleeves).

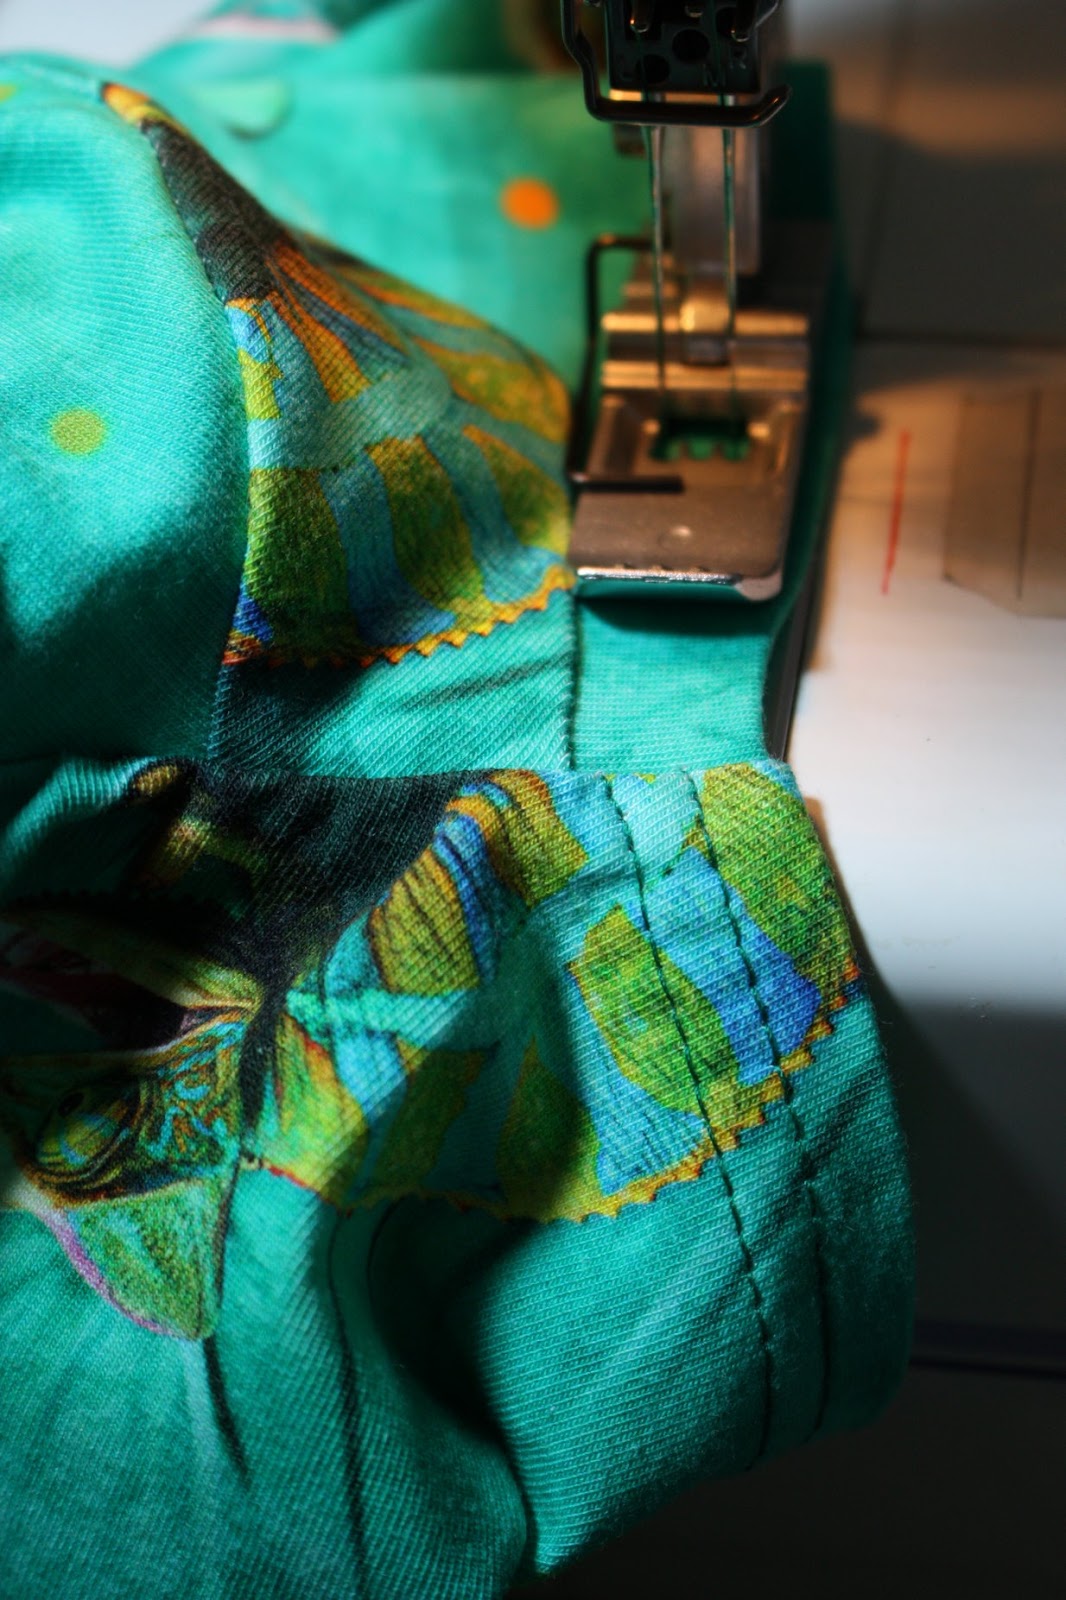
I attached the seam with a straight stitch. To keep the stitch line flexible, I pulled it during sewing. Iron then helped to get back to shape what was pulled out.

For a neckline, I used 3 cm band cut from the main fabric. I ironed it in half, pinned the middle points and pinned evenly. Serged on, facing the band upwards.


The seam was attached again with a regular sewing machine, pulling along the way. I altered the thread colors to match the fabric.


Finished sleeve.
This is my dream come true. I love the fox painting!

Friday, 8 December 2023

Fox Bodysuit

I had bought beautiful knitted fabrics for my fox T-Shirt. And now there is a newborn celebration in our family...
I have some russian pattern from the internet, I printed it and taped together.
I embroidered his name on a piece of the fabric. First I wanted to do it with freeform machine quilting, but it was never perfect.. So hand embroider in the end. Disappearing marker is the best!
I had ironed a fusible web before embroidery. After sewing the label on, I cut the web right at the seam.
My first experiments with ribbed fabric showed that it's too rough for a baby's garment. I'll use the base fabric.
3cm strip - folded in thirds and ironed.
I sewed it on with a coverlock. I didn't measure or pin anything - the strip is pulled at the neck and the base fabric is pulled at the other part of the curve. Pulling is done during sewing, nothing is prepared or exact. Surprisingly good results.
I basted the pieces together at the armholes - both the front and back panel and each sleeve.
I sewed one side + sleeve together with a serger and finished the bottom with the strip of fabric. Then I sewed the other side + sleeve.
I tried my new tool for setting press buttons. Again, I considered them to be too rough for baby's dress. I ended up sewing on three little press buttons in hand, total distance is 6 cm.
Ready for the baby!

Friday, 24 November 2023

Bird Feeder

 This was an idea caught on Pinterest. The usual ball bought in a supermarket, hanging on a string inside a cage made of sticks. It took me some time to realize that all the joints were not tied with knot in fact. It was connected with a hot melt glue gun! However, the knots are great there anyway, as the glue works the best on rough surface, better than on smooth bark.

I also used a crooked birch branch to hang the feeder so that our balcony stays clean even with the bird visitors coming. At first, the birds were frightened that the cage moves when they fly in and break just before it - it began spinning. But after some time, they got the hang of it and a flock of tits kept coming regularly, having fun on the feeder.

Friday, 10 November 2023

Boxer Shorts

 I bought a bunch of rubber bands with funny writings on them.

I cut the right width and sewed each rubber band to a circle. I tried to flatten the seam as much as possible with two lines of stitches and an extra zig-zag line.

Now to the boxer shorts themselves. The front piece has a slit in the middle. Sewing it together is the first step.

The rest is in one piece. So I sewed one side of the center front piece with the rest at a side seam.

Then I wrapped the big piece so that it would fit inside the smaller...

...so that I could sew them together right sides in.

One short seam at the bottom.

And I hemmed the legs on coverlock machine.

Rubber band is sewed on in an unusual way - wrong sides in!!! Then it's turned over and added one more line of stitches at the rubber band side. The seam is neat from both sides this way. However, this way you mustn't forget to stretch the band while sewing as much as possible. If not, the threads can bread during taking the garment on.


Seven pieces as a weekly set, as a gift for my beloved husband. I can't wait till his birthday already! :-D

Friday, 3 November 2023

Brown Skirt from Leftover Knit

 A small project from scrap knit. I cut out a half circle skirt according to my waist circumpherence.


 I sewed the sides on both the skirt and the rubber band and pinned it by halves together.

I used a technique that I'd learned on boxer shorts - I sew WRONG sides together, like a centimeter from the edge of the rubber band, then I fold the skirt panel down and add one more line of stitches at the very edge of the band. Of course pulling the rubber band a lot so that the seam is stretchy.


The fabric was so nice, dense and super lightweight, that I didn't hem the lower edge.


Wednesday, 25 October 2023

Blue Woolen Belt Poach

 I missed embroidery in my life so I made something for sale to medieval bazaar. I picked a woolen pouch with some design from real medieval textiles.

Here are just some pictures of how I made the strings for hanging. I tied two pieces of wool of different colors that would match the design. I used a drill to twist it and when the twist was tight, I folded it in half. It twisted together nicely.

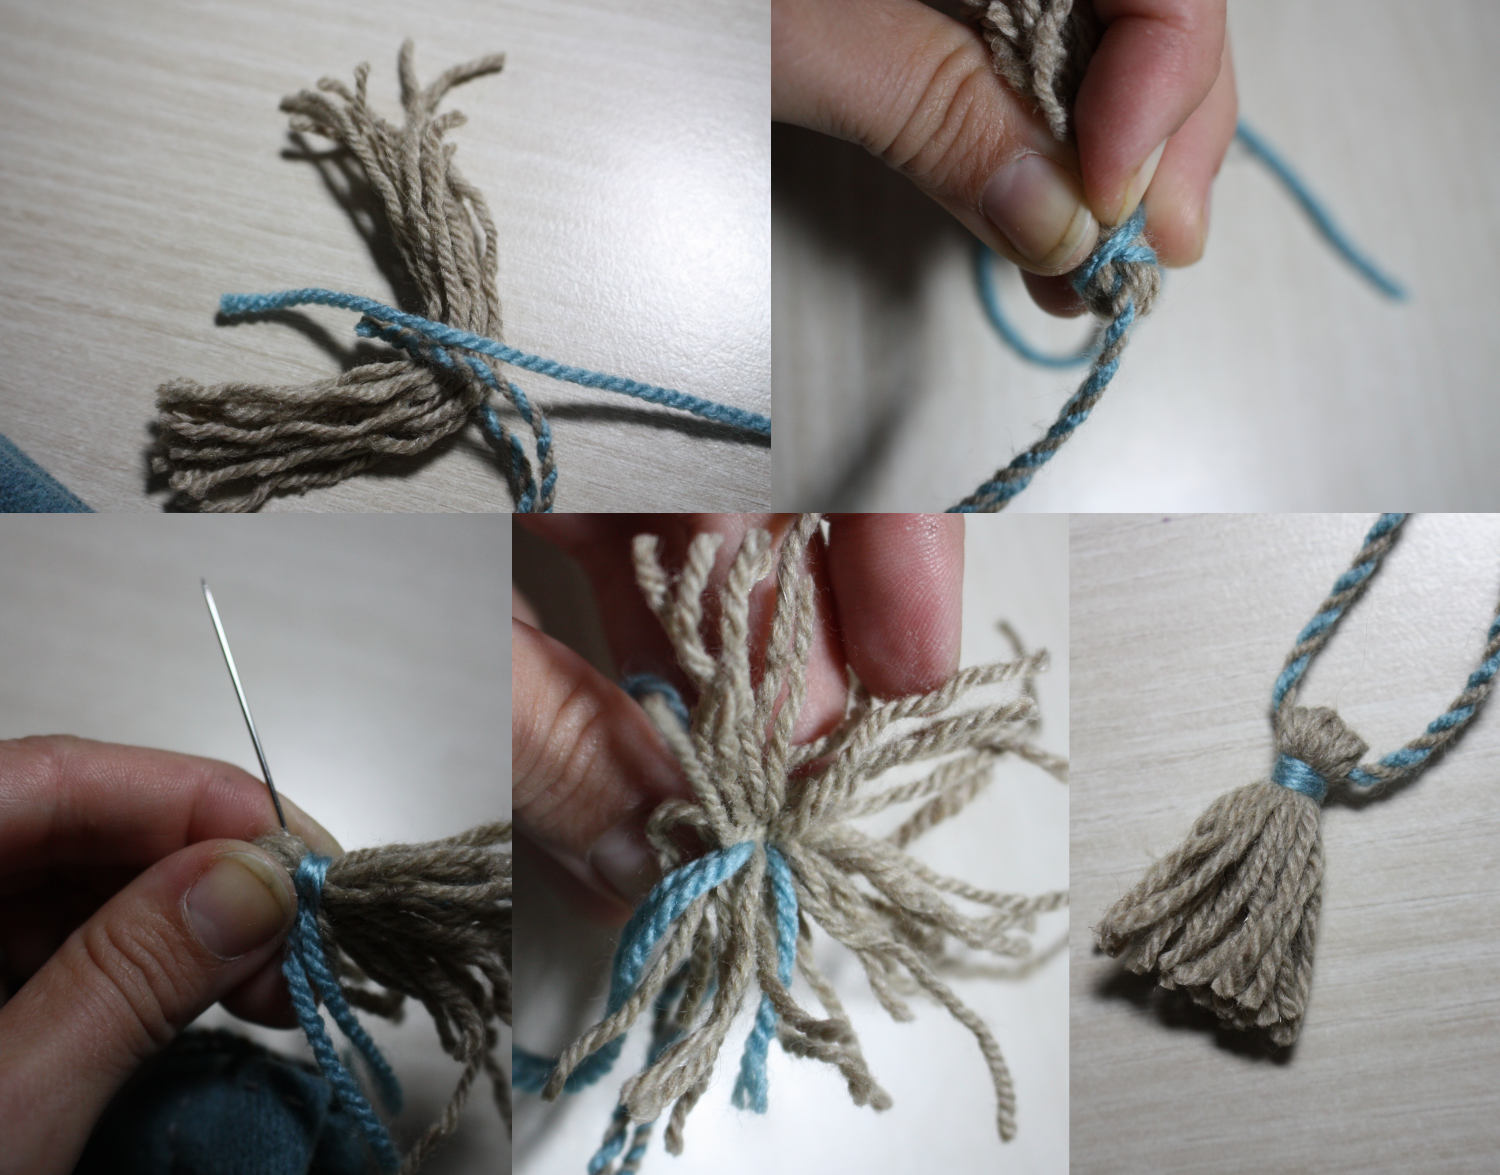
Medieval pouches were often decorated with tassels, so I added some to the corners and to the fastening cords.

Ready to ship!

Monday, 2 October 2023

Round Hanging Bread Pouch

 I wanted to try this type of bag, and I needed something to dry my bread leftovers for animals in.

I made some basic patter for seven segments with darts and a circle with circumference of the lower edge.
I sewed the side panel on a material that rags are made of.
I made the tucks, sewed the side seam and secured the edges in place with a line of stitches, as the fabric is very thick.
Quilting at the bottom piece.
Lining has the same shape.
I attached the lining at the upper edge and covered with a band that I prepared with iron.
I left some space before and after the end and stopped sewing to get the ends together.
I finished the band with a line of stitches in the seam at right side so that it's hidden.
Cute rounded pouch.
Looks funny :-D

Monday, 25 September 2023

LAA Tank Top

How to wear these unisex T-Shirts that a lady gets on various occasions so that they fit her shape?

I drew a simple pattern where the basic measurements are: breast, waist, hips and length of the top, and the height of each measurement on the spine, measured from the neck vertebra.
I  drew neckline 11 cm wide (half) and drew a slanted 3 cm shoulder.

I cut strips from the gigantic sleeves and used it to finish the neckline and armholes. The mesurement was 0.8 x neckline.
 I sewed it on with serger, then I added a straight line on the regular sewing machine so that the edge doesn't turn. You just should stretch the fabric a little if you want it to stay elastic.
Before.
After.