Sunday, 7 October 2012

Brown Fiertoch

This is a part of a traditional folk costume from Spytihněv (south Moravia). Fiertoch is the topmost layer of the skirt. It is tied around the waist like an apron.
My niece has chosen beatiful brown&gold brocade. I sewed a stripe long about three meters from stiff fabric, ironed the three edges of a brocade rectangle and sewed it on.
Then I spent about 8 hours handstitching a spangle band to the brocade. I watch TV when doing things like this, not to get crazy :-D
The band must be neat even at the wrong side. Folkers are perfectionists when it comes to their costume...
I gathered the upper and lower part. I did it in hand, but at the waist I machine sewed an auxiliary line of stitches which helped me keep the length of gathering stitches.
You can see the process - what the fabric looks like when you just gather it without manually straightening each pleat.
Brocade frays easily so I cut the upper edge as late as I could. The gathering here was nice and accordion-like.
At the bottom, the size of stitches corresponds with the width of the pattern - I always go throung the same place of the pattern.
I love this state :-)
Here I just sewed on two connected rectangles - one from lining and one from brocade.
I always wonder if I should sew it on by machine, the gathering is at least 5 mm tall... But usually I get surprised by how easy it is.
I sewed the lining to the back in hand. What's left now: sewing a white ribbon to the sides as a fastening and leave like this for at least a week. The gathering stitches are always taken out right before one takes it on to preserve the desired accordion shape.
So this is one little piece of the million-pieces Spytihněv folklore dress. Luckily, the rest is not my business :-D

Sunday, 9 September 2012

Renaissance Dress - Sleeves

I cut all the pieces for the sleeves. It seems like a few but takes a lot of time.
I toughtened all of the edges with a fusible web (the lining too for the grommets not to rip out).
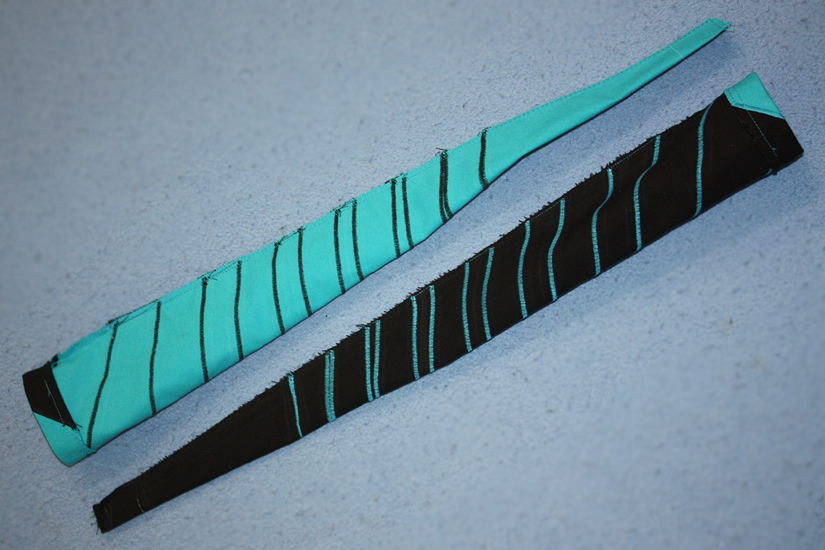
I sewed tubes, ironed to bands that I cut to small pieces. I serged a line of tubes like at the Cranach dress.
After sewing the bands to the upper edge of the lower sleeve I sewed on the lining. Carefully not to catch the side band.
I folded the lower hem and sewed on with a hidden stitch (machine). Then I sewed on the upper part of the sleeve. This time, unlike at the Cranach dress, I leave the sleeves flat as long as it's possible.
I ironed the edge aroung the bands and added a line of stitches there.
As drying is one of important phases of ironing, I let the sleeves dry in the shape I'd like it to stay in. On my hula hoop :-)
At the upper sleeves, I sewed the bands on the sleeve first and then I sewed on the lining.
I serged the sides and added a lot of grommets.
I sewed the sides together and that's all :)

Tuesday, 28 August 2012

Orange Fire Costume

I made a fireshow waistcoat for my boyfriend.
The design is from both of us - he wanted a sleeve on the right arm (he spits fire and wipes the oil from his mouth to it). I made up the rest :)

I didn't have a cord or leather thick enough, so I had to braid a thin cord and I quite like it :)

Monday, 27 August 2012

Renaissance Dress - Corset Base

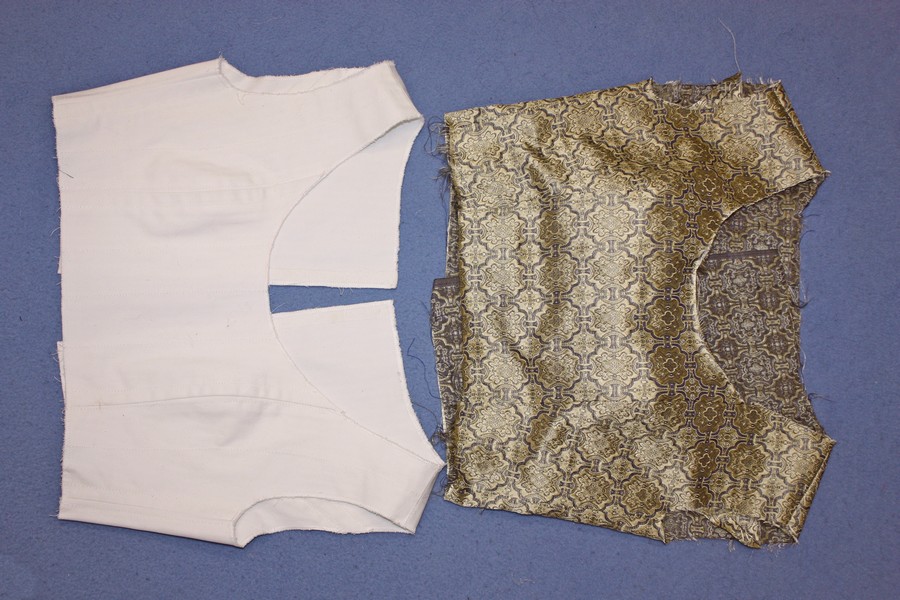
I fitted the bodice for the renaissance dress. I made a pattern for the other layers; one from canvas and one from brocade.


The second layer in progress. The first layer has wide seam allowance for the bone to fit in.


I put the two layers together and sewed them carefully at the seams.

I have prepared a pleated skirt. I has a small sweep :)
Oh, I love sweeps!


The brocade covering. I tried to match the pattern at the bust, it's not perfect, but it should do..


I cut the sleeve from the fitting and made a pattern from it.

Sunday, 18 December 2011

Spiral Poi - Finished

I did some little changes compared to the previous production.
I don't make a hole at the top, because my pair tore off at the point when I was spinning hard. It weakened the thinniest place at the poi. Now I just fold the top over a metal rectangle and I sew the handles to it.
And I decided not to embroider the upper hem of the sack with always the same stitch, when my Janome 7700 knows a lot of wonderful stitches. I'll chose it to match the picture on the sack :)
The poi pattern's just amazing :-)

Saturday, 17 December 2011

Spiral Poi

Again, again, again. I always end up admiring my customers' designs. This one is really cool :-)
Making a pattern meant precise measuring. The spiral always ends up at the right side and it must begin exactly at the same height and width on the left side.

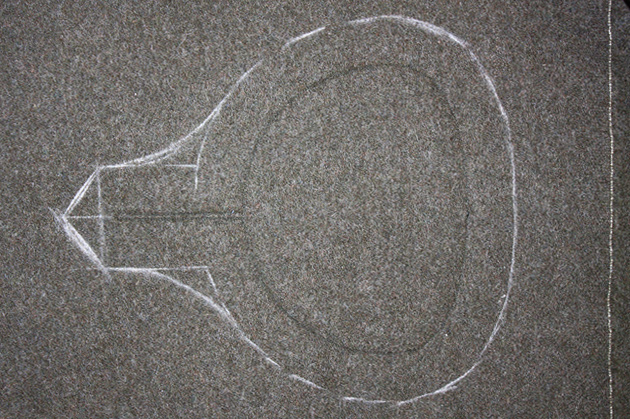
I cut out all of the pieces and drew the pattern on the base two pieces.

I sewed the spiral pieces on with a satin stitch, I attached them to the base with straight stitch. The straight stitch must be close enough to the edge so that it wouldn't be visible after sewing the poi together.

I serged the lower edge and  ten centimeters of the side seam allowance. I marked the lower fold line and started sewing the poi together at the side seam. I didn't sew under the fold line to leave a gap for the cord.

I had to pin each satin line. The lines must connect exactly at the width of the seam allowance to make an impression of a continuous piece.

I folded the slit in and sewed to keep it in place.

When I folded the lower hem, I had to alternate the thread colours for the stitches not to be visible. I always prefer to have sleeve shaped things wrong side out when sewing the lower hem:-)

Are you curious what they'll look like when turned over?
So am I :-D

Sunday, 16 October 2011

Woolen Trousers and Tunic - Finished

I hemmed the lower edge of the calf pieces and gathered the knee of the trousers.

The gathering: I sewed two lines of long stitches and pulled the lower thread.

I sewed between these two lines and then ripped out just the line of gathering stitches that was visible at the right side.

The completed trousers:-)

I serged the neckline lining, ironed it to the wrong side and sewed on the place. I ironed it on the wrong side so that the edges wouldn't mark to the right side.

I had to insert small gores to the armcye. I sewed them to the sleeves first.

Then I sewed the sleeves to the body. Then I sewed the sleeve and side in one step.

I like sewing over the seam allowance when I hem the sleeve - it's locked where it should stay:-)

I folded and hemmed the lower edge and the tunic is here :-)

Saturday, 15 October 2011

Woolen Trousers and Tunic

This is a quick business - I must make the costume (trousers and tunic) during this weekend.  
I cut out two very wide legs and sewed the thigh parts. I sewed the center seam and made a tunnel for the fastening cord. I left out a hole in the center seam for the cord.  
I measured the upper and lower circumference of the calf, drew a trapezoid and curved the vertical lines.
 
I sewed the vertical seams. Now I had the thigh and calf parts prepared.
 
I drew the basic pattern for the tunic. It depends on the breast, butt and length measures. 
 
I placed a raw piece of fabric on the neckline and sewed along the line. Then I measured four centimeters from the stitches and cut off the excess. 
 
I sewed the sleeve to the armcye before sewing the side seams.

Friday, 9 September 2011

Wood Carving - Name

I'm carving our dog's nameo.
The best wood I could get was a kitchen knife board.
I started with the center lines. They are deepest spot of the writing.
When I carved the diagonals I put the chisel slanted to go from the full depth at the center to the zero at the edge.
When I had the lines I got down to the surfaces.
I don't have my chisels perfectly sharp so I always cut perpendicularly to the threads (which is not this case, I found out that by experience in the middle of work :-D).
I didn't have the right gouge so I had to do the curves with a corner of the chisel.
Not very elegant.
The inside is also done with the chisel...
And the gouge is eventually here! For the curved outside part.
I hate the O.
The writing took me two days. Not finished yet :)